

Patience and it will happen
This is going to be a longer post. I do suggest reading it as I give some background information on making sourdough bread that may save you some heartache. But, if you are impatient like me, you can jump down to the recipe.
I know the events of the last few years stirred an interest in homemade sourdough bread. Lots of people had advice and tips on how to make those beautiful crusted loaves of bread with intricate designs carved into the top. People would explain how to get your sourdough starter going and maintained with the same level of precision necessary for open heart surgery.
And I tried a lot of those methods. Every day feeding and discarding my starter and trying to make things with the discard because I had a lot of guilt over wasting flour. I stuck with it faithfully for months with mediocre results. The loaves tasted good but they were never wow.
I was never achieving these amazing bubbling out-of-the-jar starter results people show on Instagram and Pinterest. I would get enough rise to pass for a loaf of bread but it wasn’t astonishing.
I had basically given up hope for my no commercial yeast adventure. It seemed like too much work and not worth the results. Then I had a light bulb moment. Perhaps my store-purchased flour was the problem.
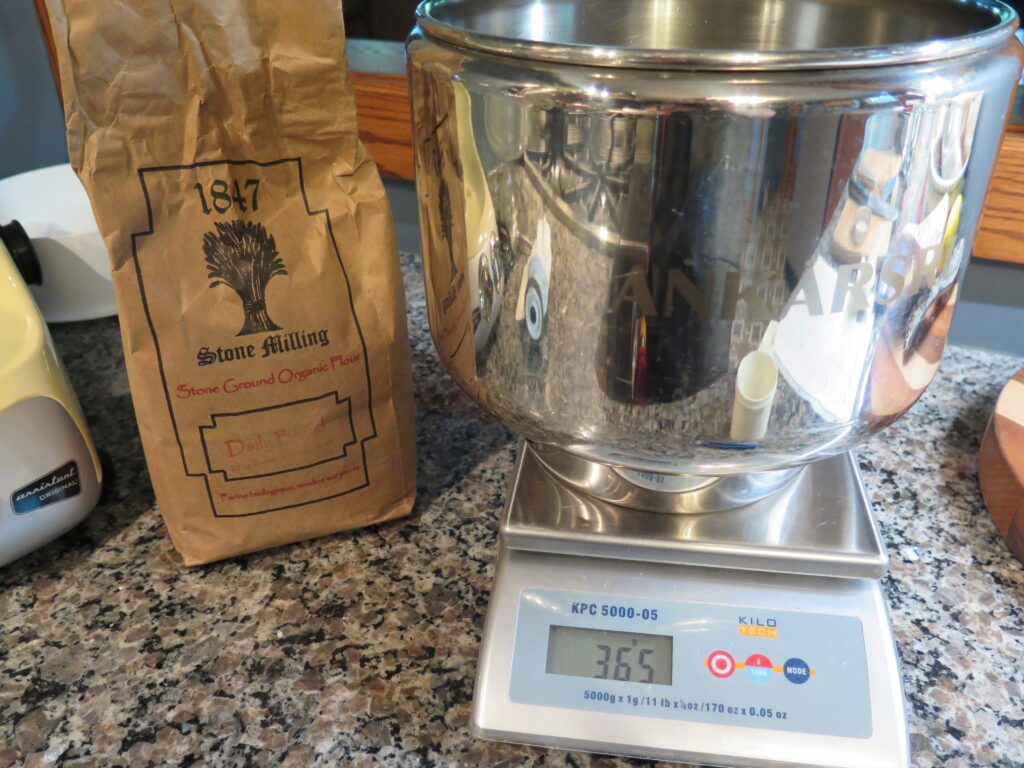
I found a mill somewhat close by and ordered a few of their stone ground flours. I used rye flour to make my starter. What a difference!! Within two days, I had bubbles and growth. The texture of stone ground flour is so different from what you get at the grocery store. If you can, I suggest finding a mill and if nothing else, use that flour for your starter. It will help. Trust me!
The truth about Sourdough Bread
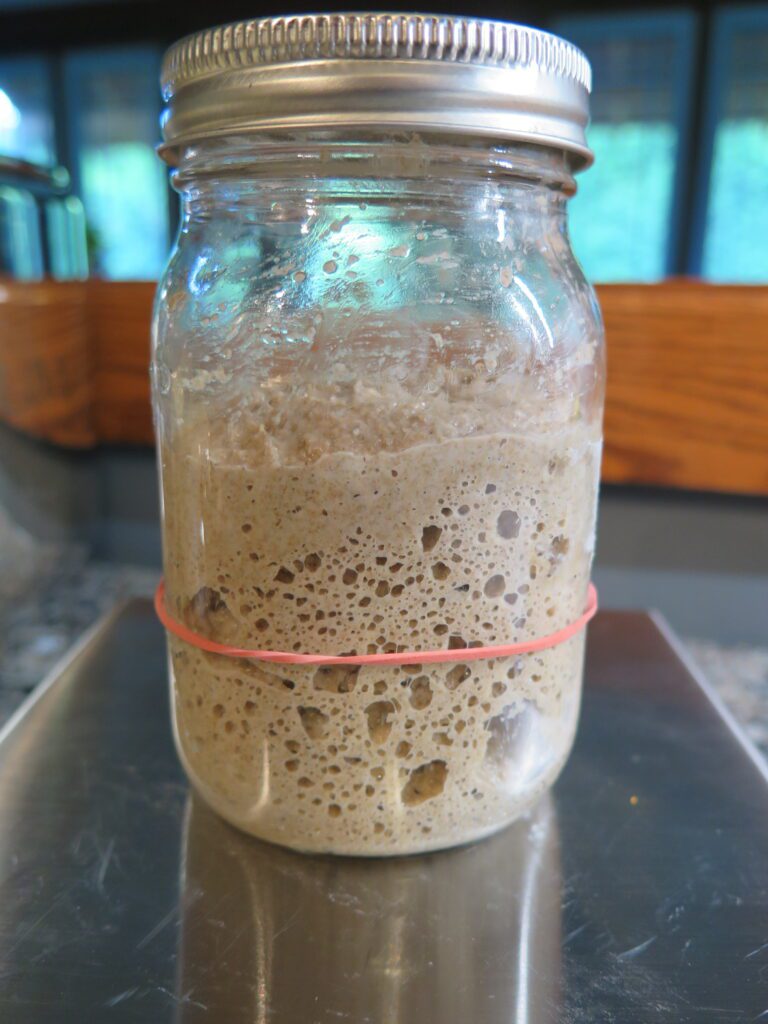
Here’s the thing. No recipe is going to work exactly the same for everyone. There are too many factors at play to say these measurements/these steps and this timing is going to be your key to perfection. The biggest factor will be the strength of your sourdough starter. If your starter does not double in size after 12 hours of feeding it, it may not be ready to be used in your baking.
I feed my starter the evening before I want to make bread. So, around 8pm, I will feed my starter and place my elastic band to mark the level. Then the next morning, if my starter has doubled by 8am, I know it’s ready to be used.
You need to take the recipes as a guideline when it comes to sourdough bread. I’ve played around with a few different ones to make the one below that works for me. It may not be exactly right for you. But, it’s a starting point.
And as frustrating as it is for me to say, you do need to actually take your time and check your bread as it’s going through its process. Sourdough is not a quick bread. It’s hours. Let me repeat…hours. Especially if you don’t have a toasty warm location. If you do have a warm spot, you may be able to save some time so keep an eye on what is happening with your bread.
The more you make sourdough bread, the more comfortable you will be with the process and know what to look for. And yes, you will have loaves of bread that no one wants to eat. It will happen. Accept it, learn from it, and move on. My recipe sheet has lots of notes written all over it explaining what I did that didn’t work and what I did that did work. I suggest you do the same.
A final bit of advice. If you change your flour type, you WILL need to change your water and starter amounts and the time for proofing. Every brand of flour is different. So even if you stick with grocery store bread flour, if you change brands, it will behave differently. Change what type of flour (whole wheat, rye, spelt) and you will have a different situation again. Don’t be afraid of it. Embrace it as a challenge and when you succeed, because you will, your bread will be that much more delicious.
Tips and tricks for this Sourdough bread recipe
Add all your ingredients into your stand mixer.
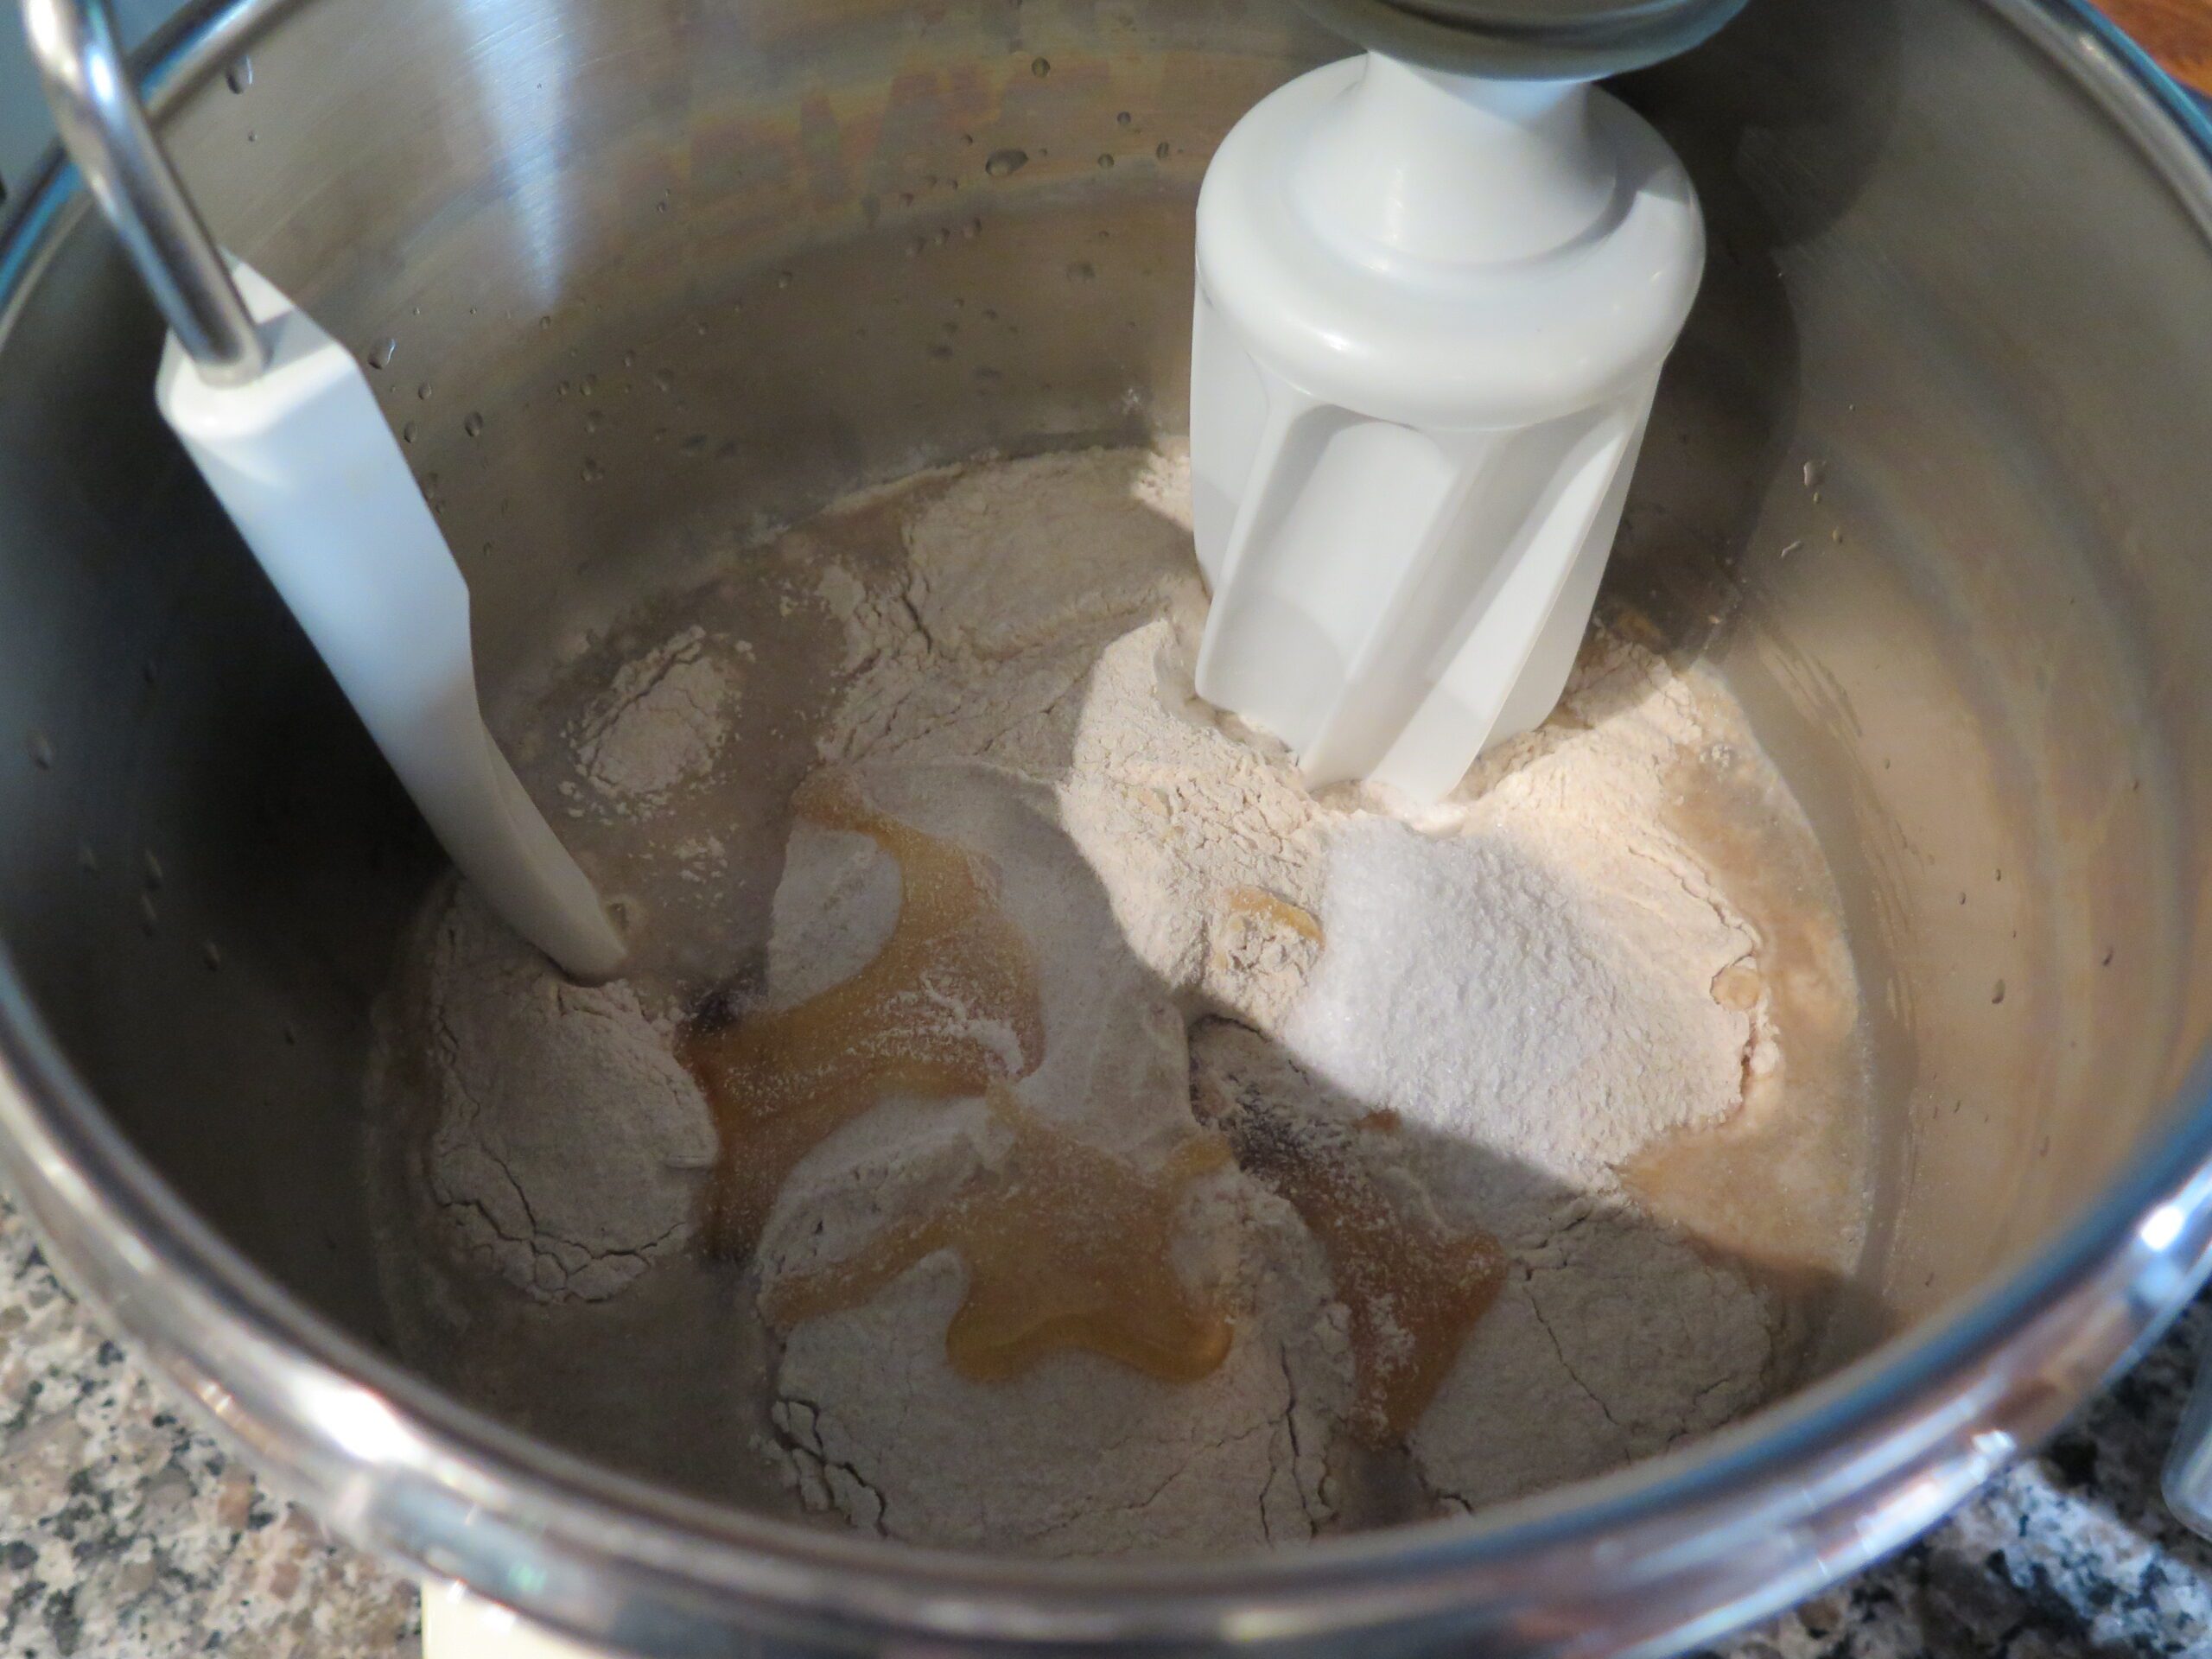
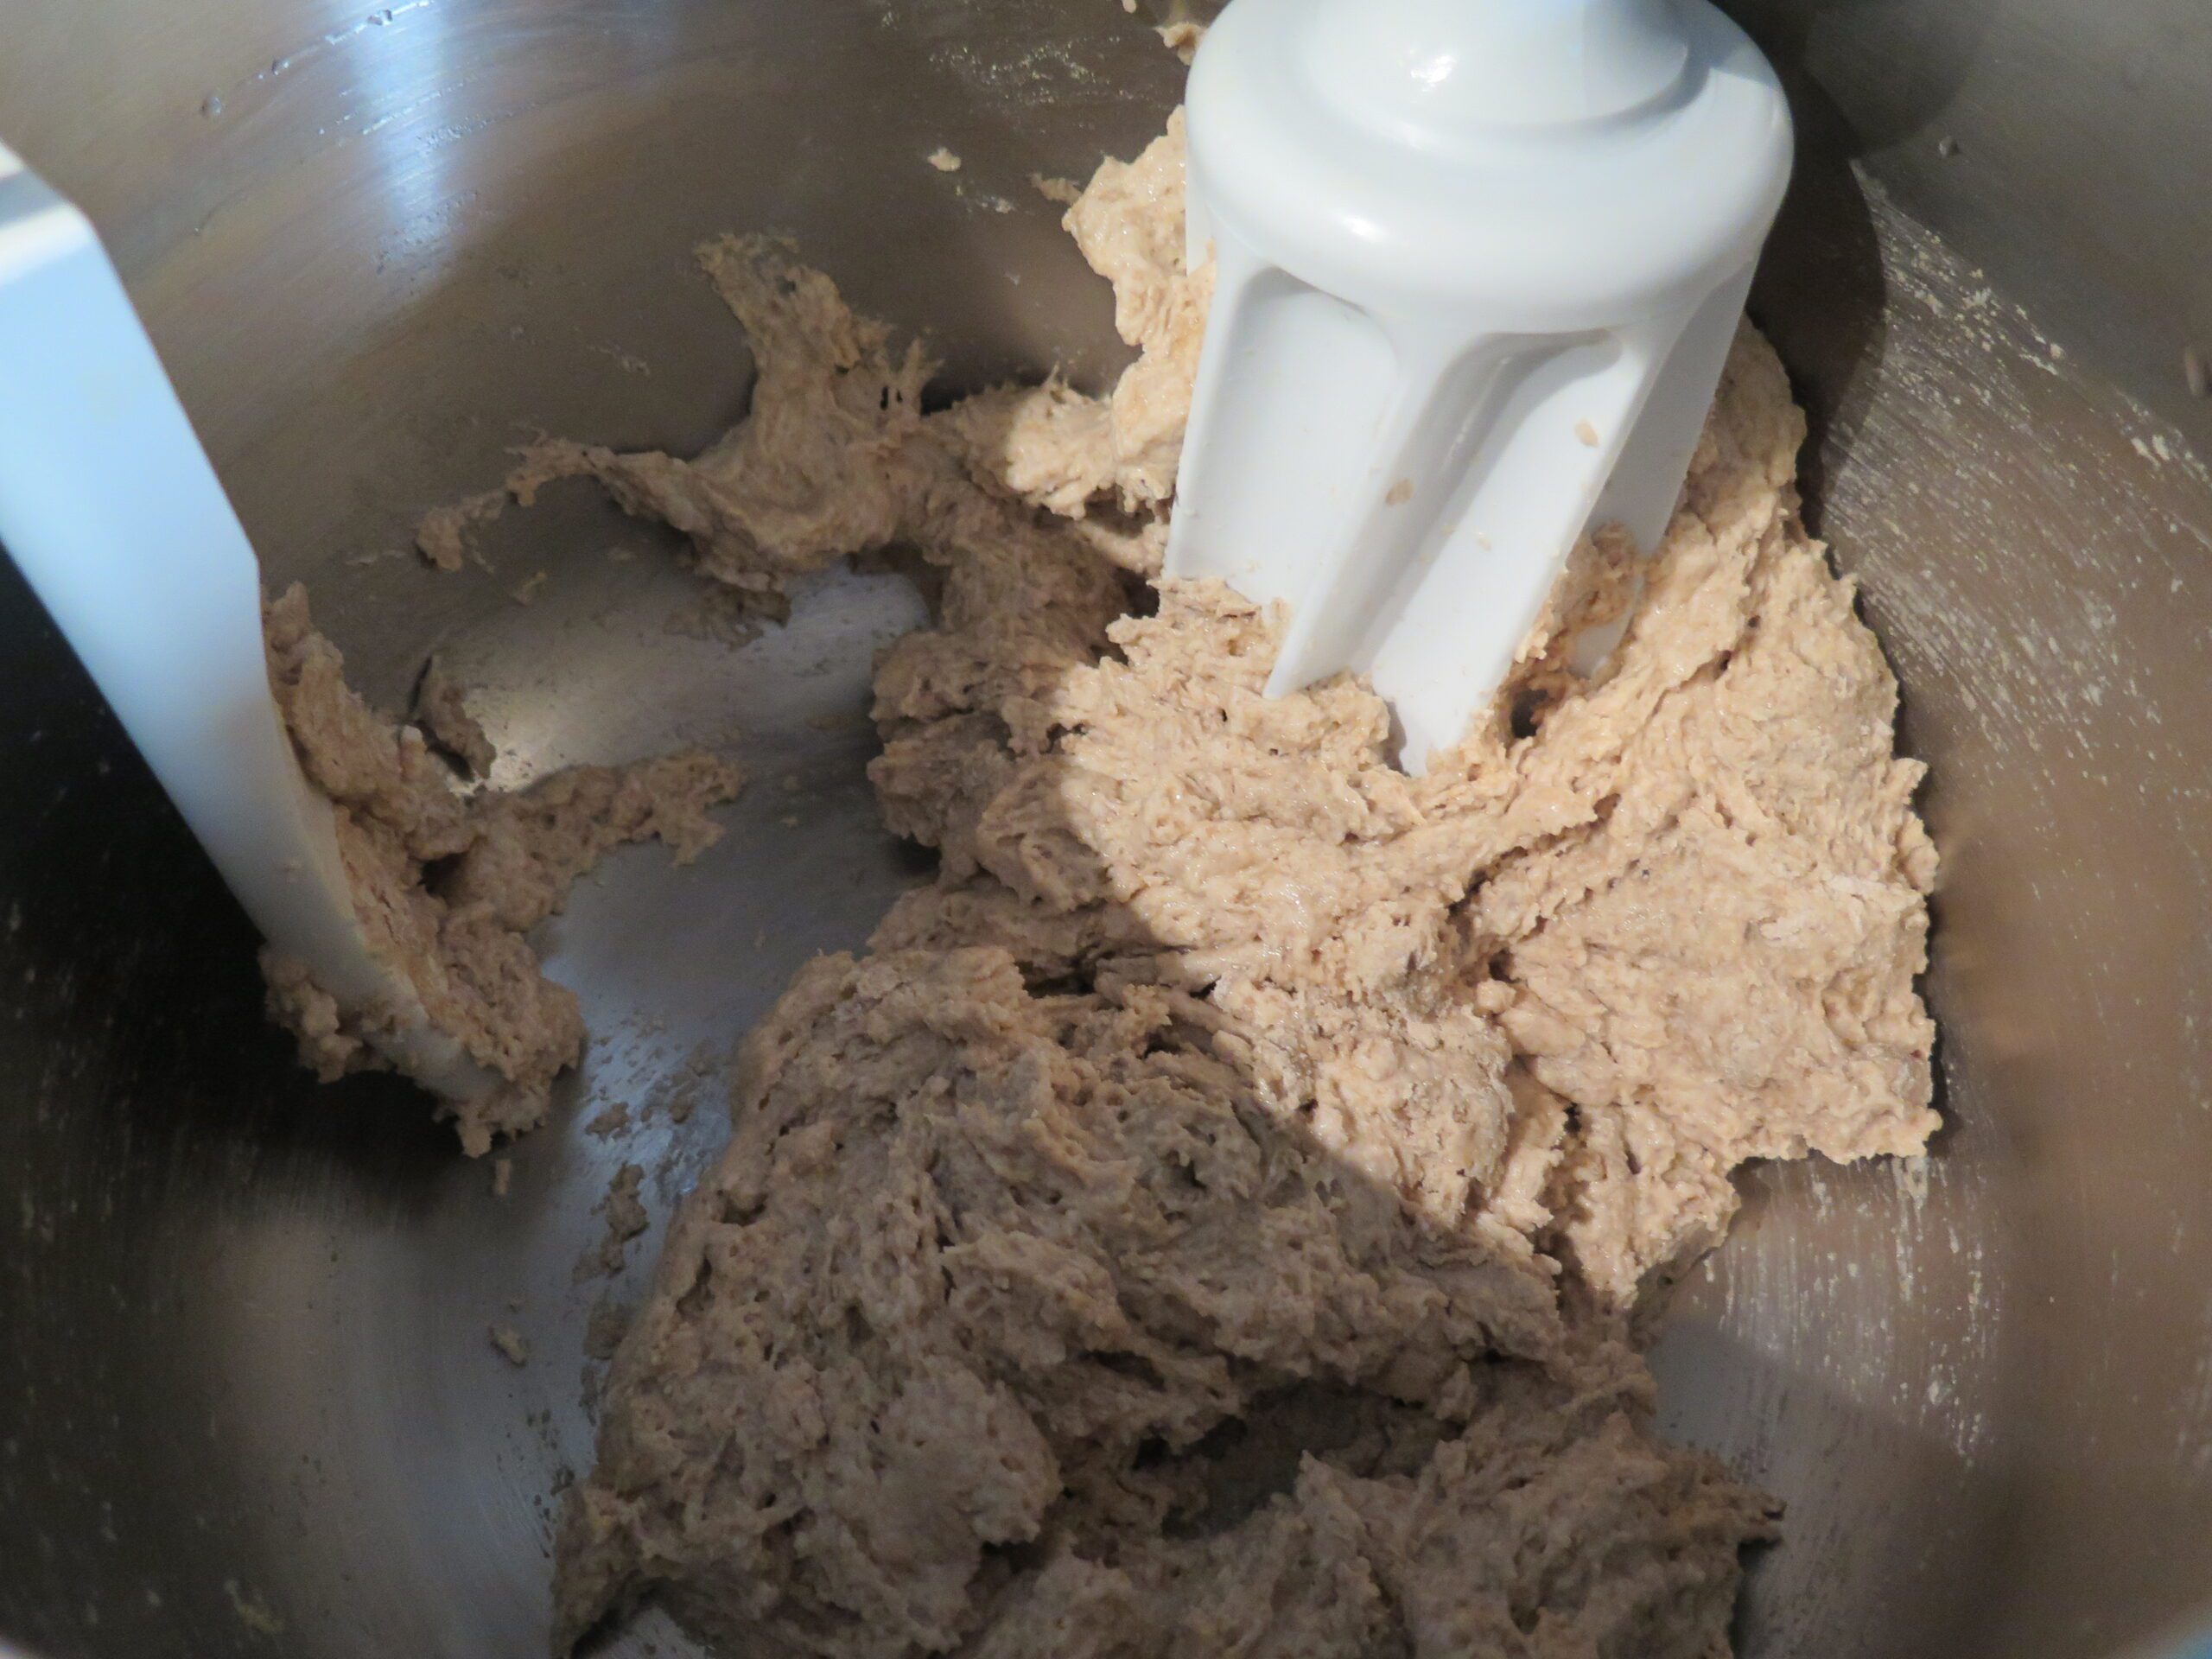
Mix your ingredients just until combined. You don’t want to see any dry flour. Wait for 30 minutes.
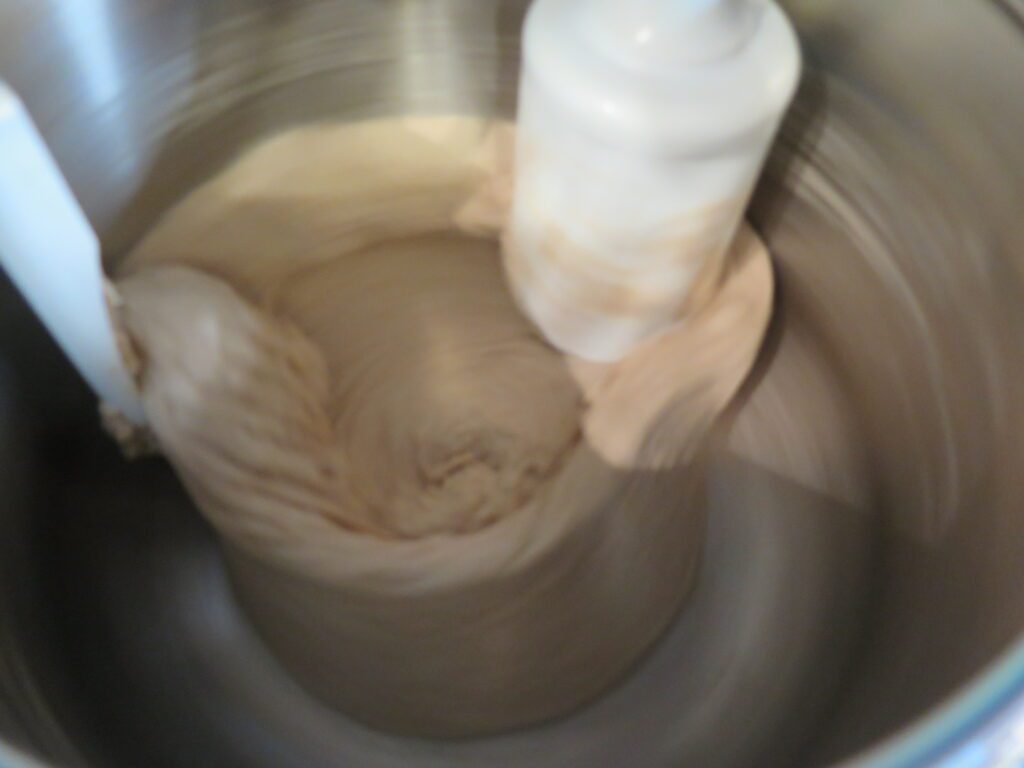
Knead your dough. You may need to add more water or flour at this point. I set the timer on my Ankarsrum mixer for 10 minutes and I always have to add more flour. I prefer to add flour rather than water as it seems to work better for me. Technically, I could reduce the amount of water at the start, but I would rather make sure the initial 30 minutes have enough moisture to properly hydrate and start the process.
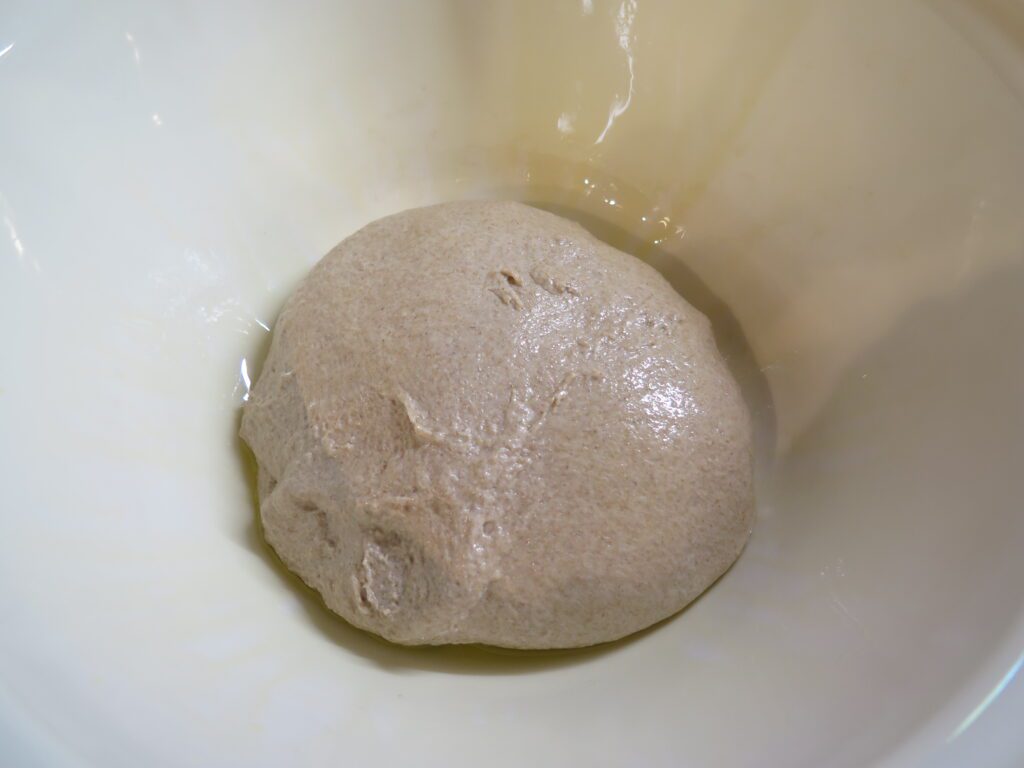
Rest in an oiled bowl covered with plastic and place in a warm spot to proof for 2 hours.
The folds
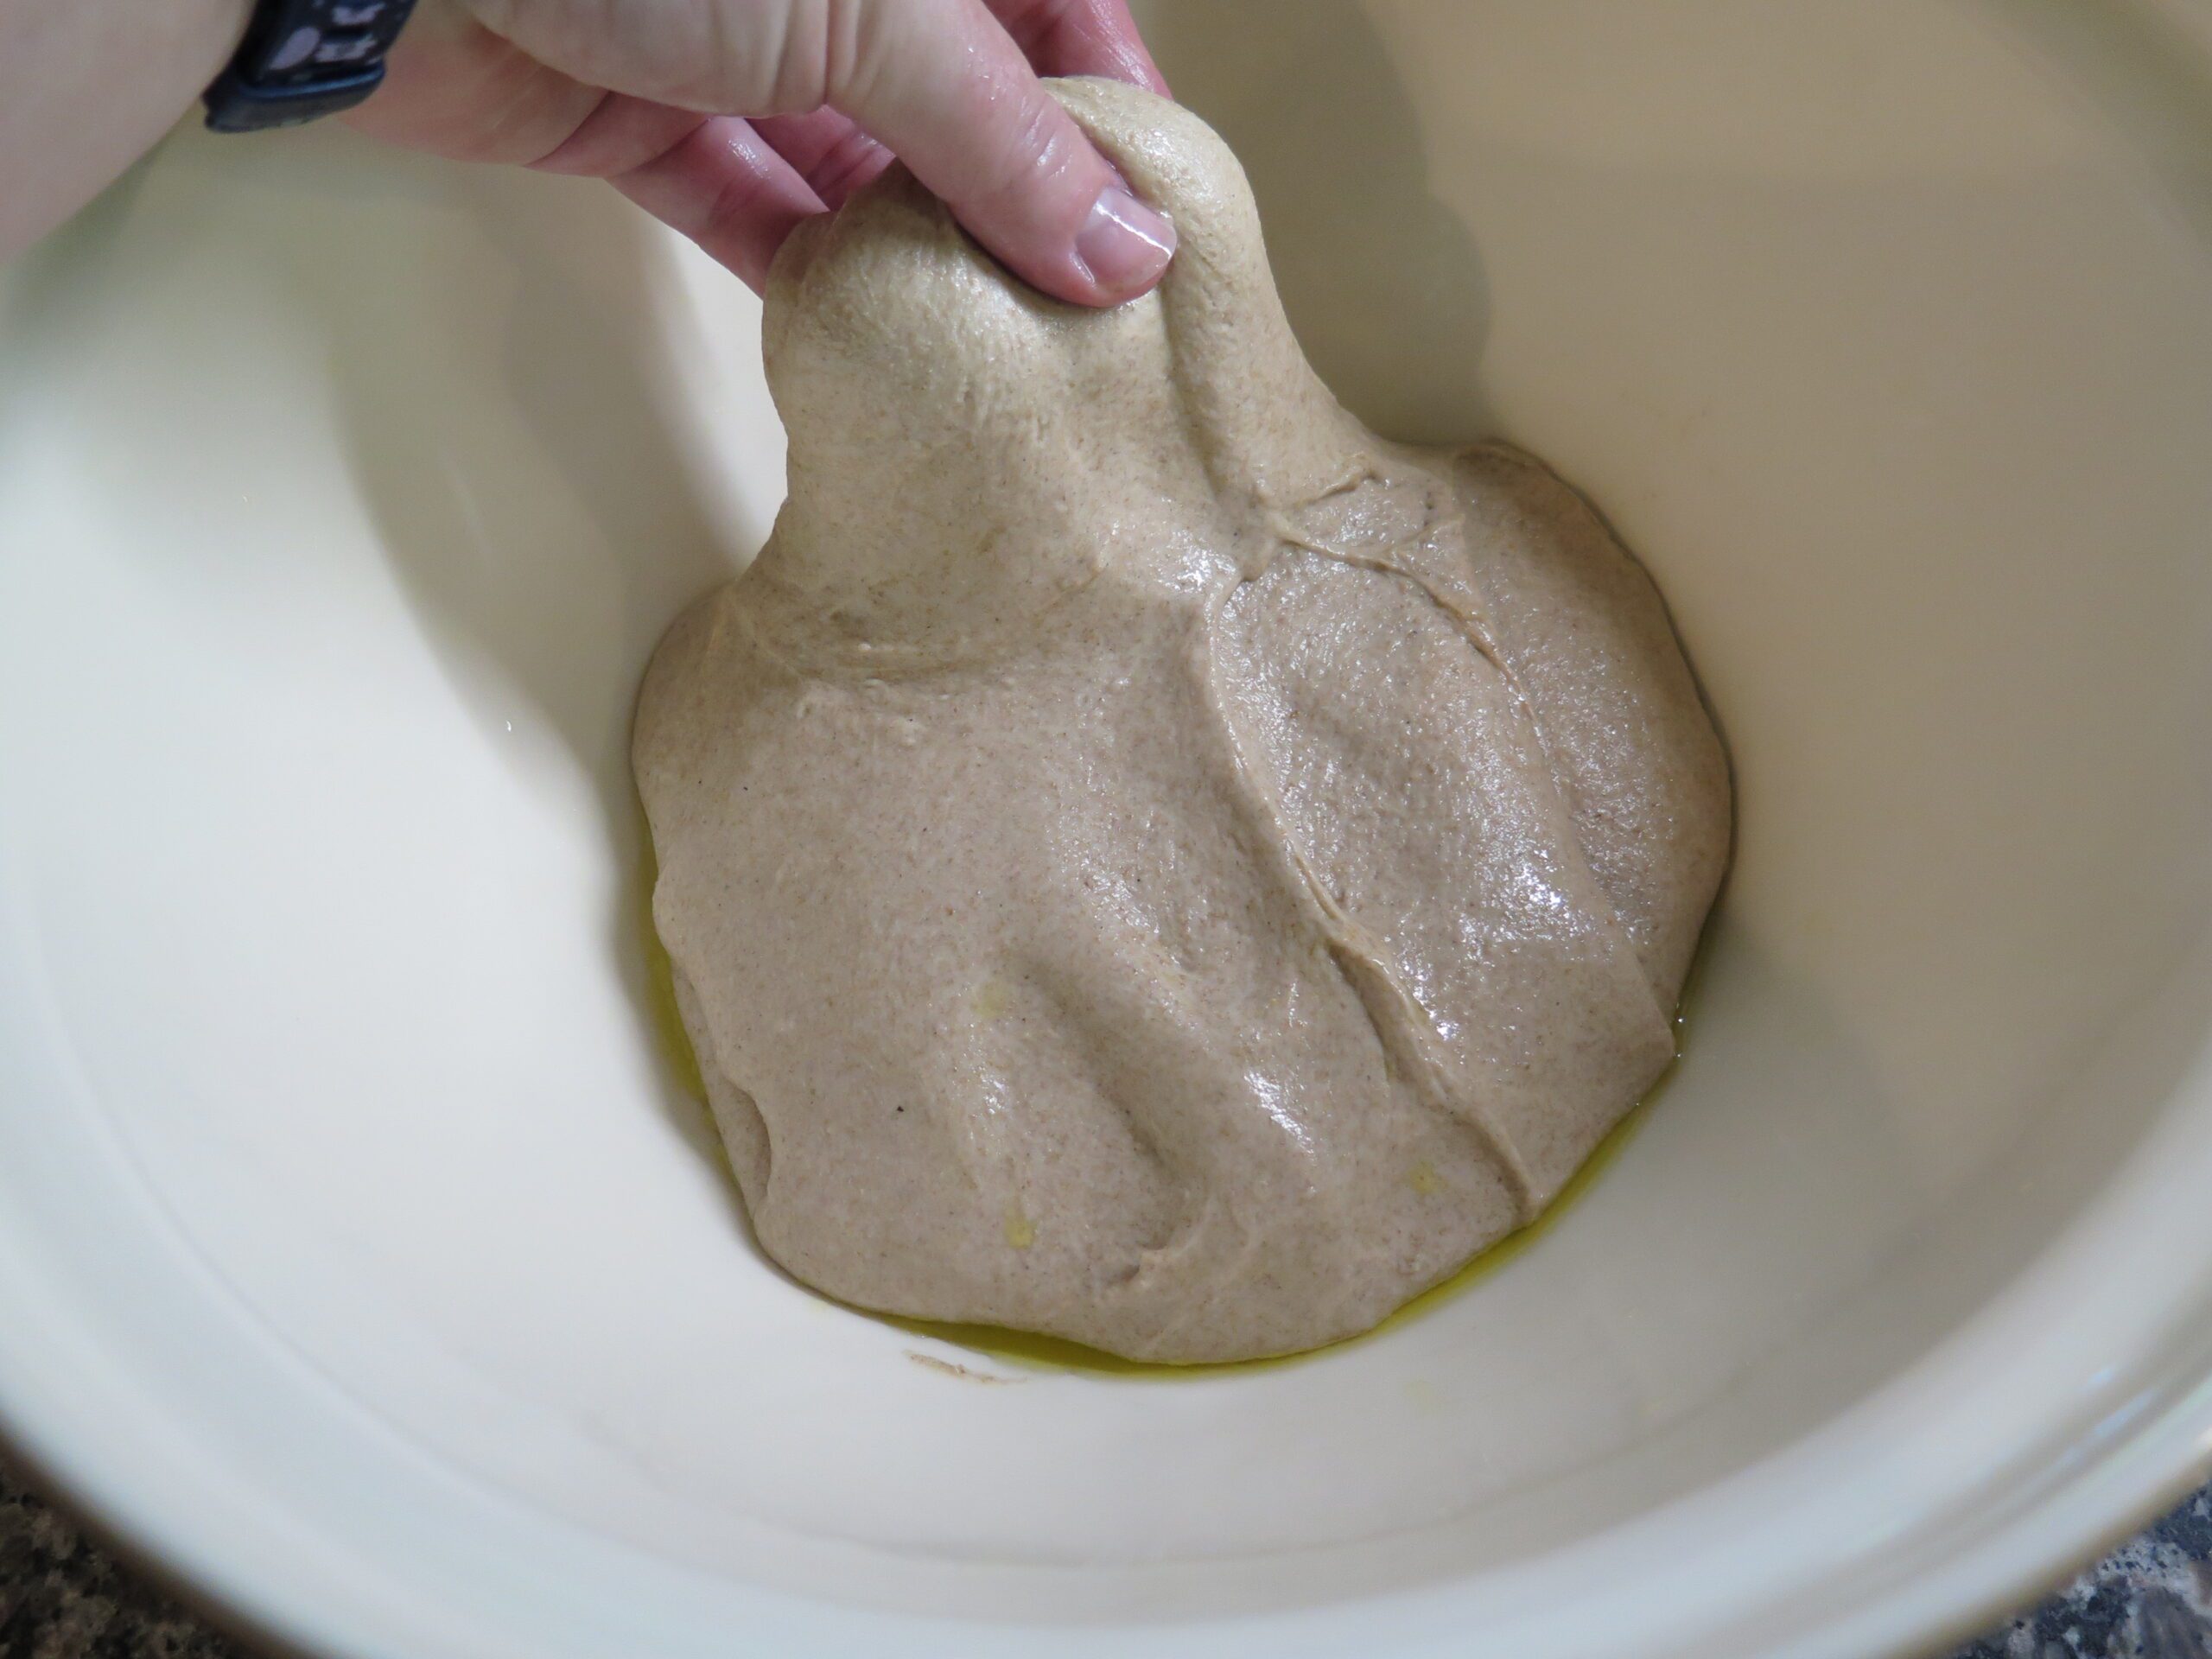
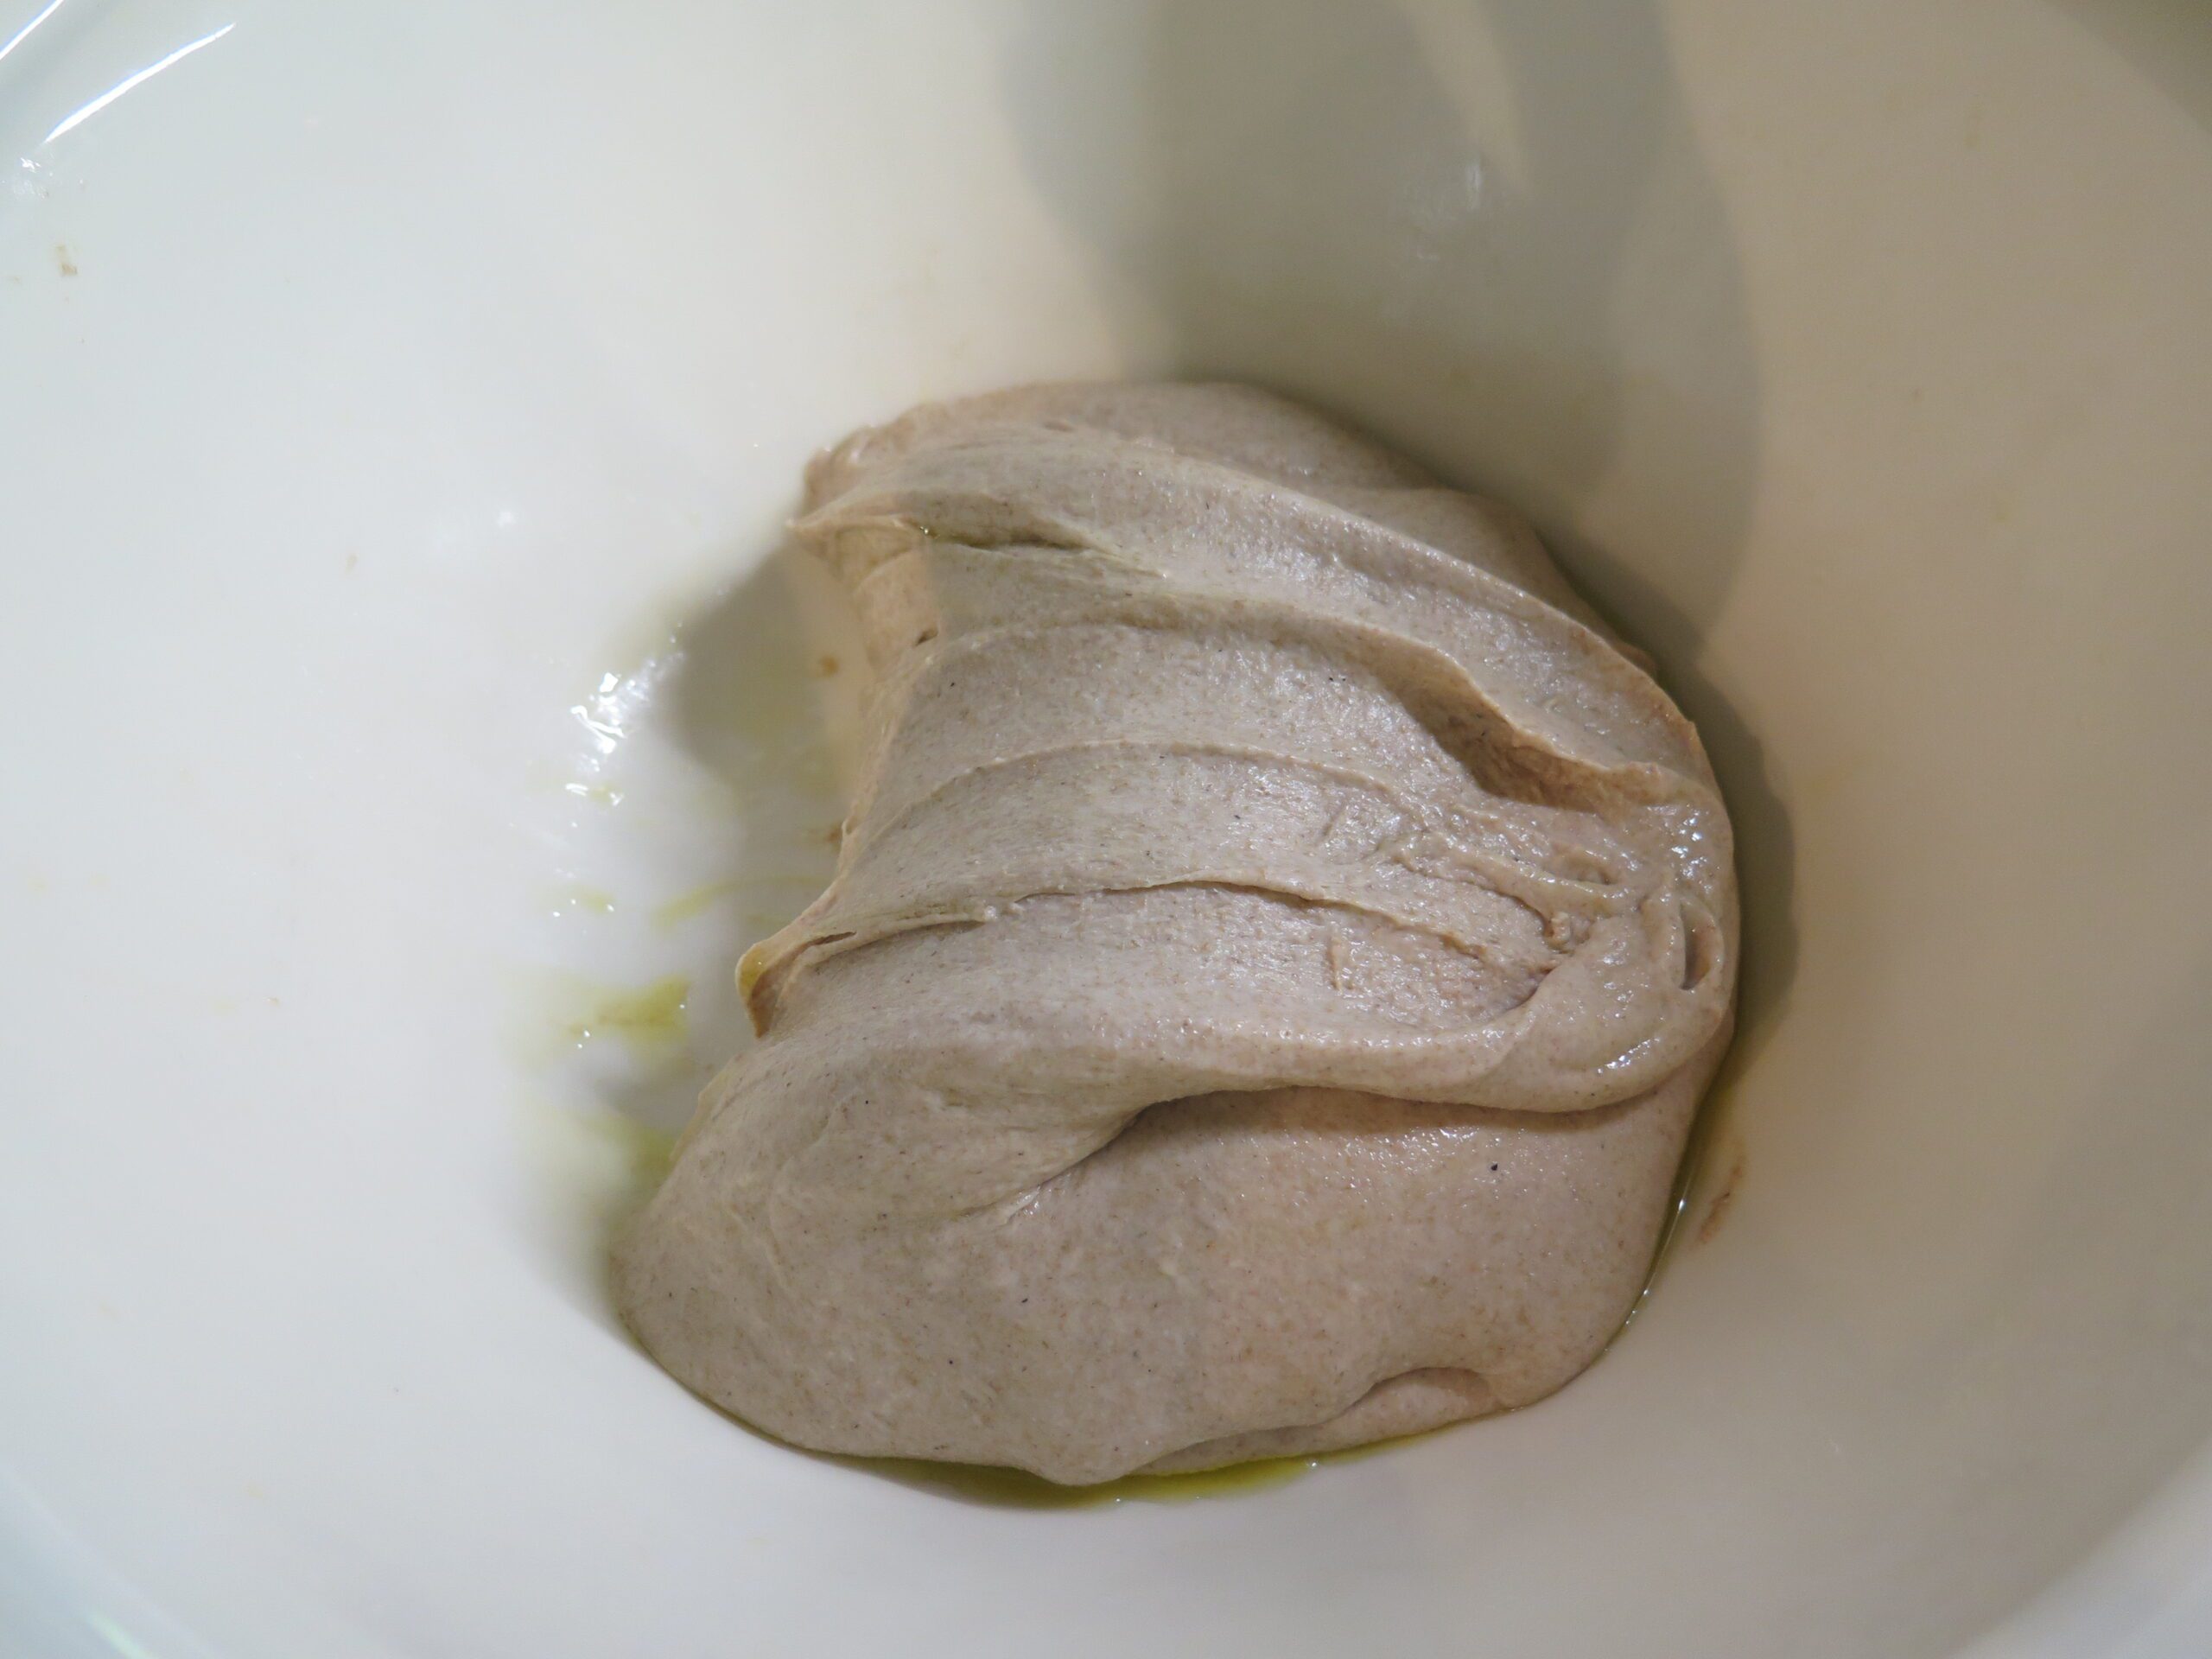
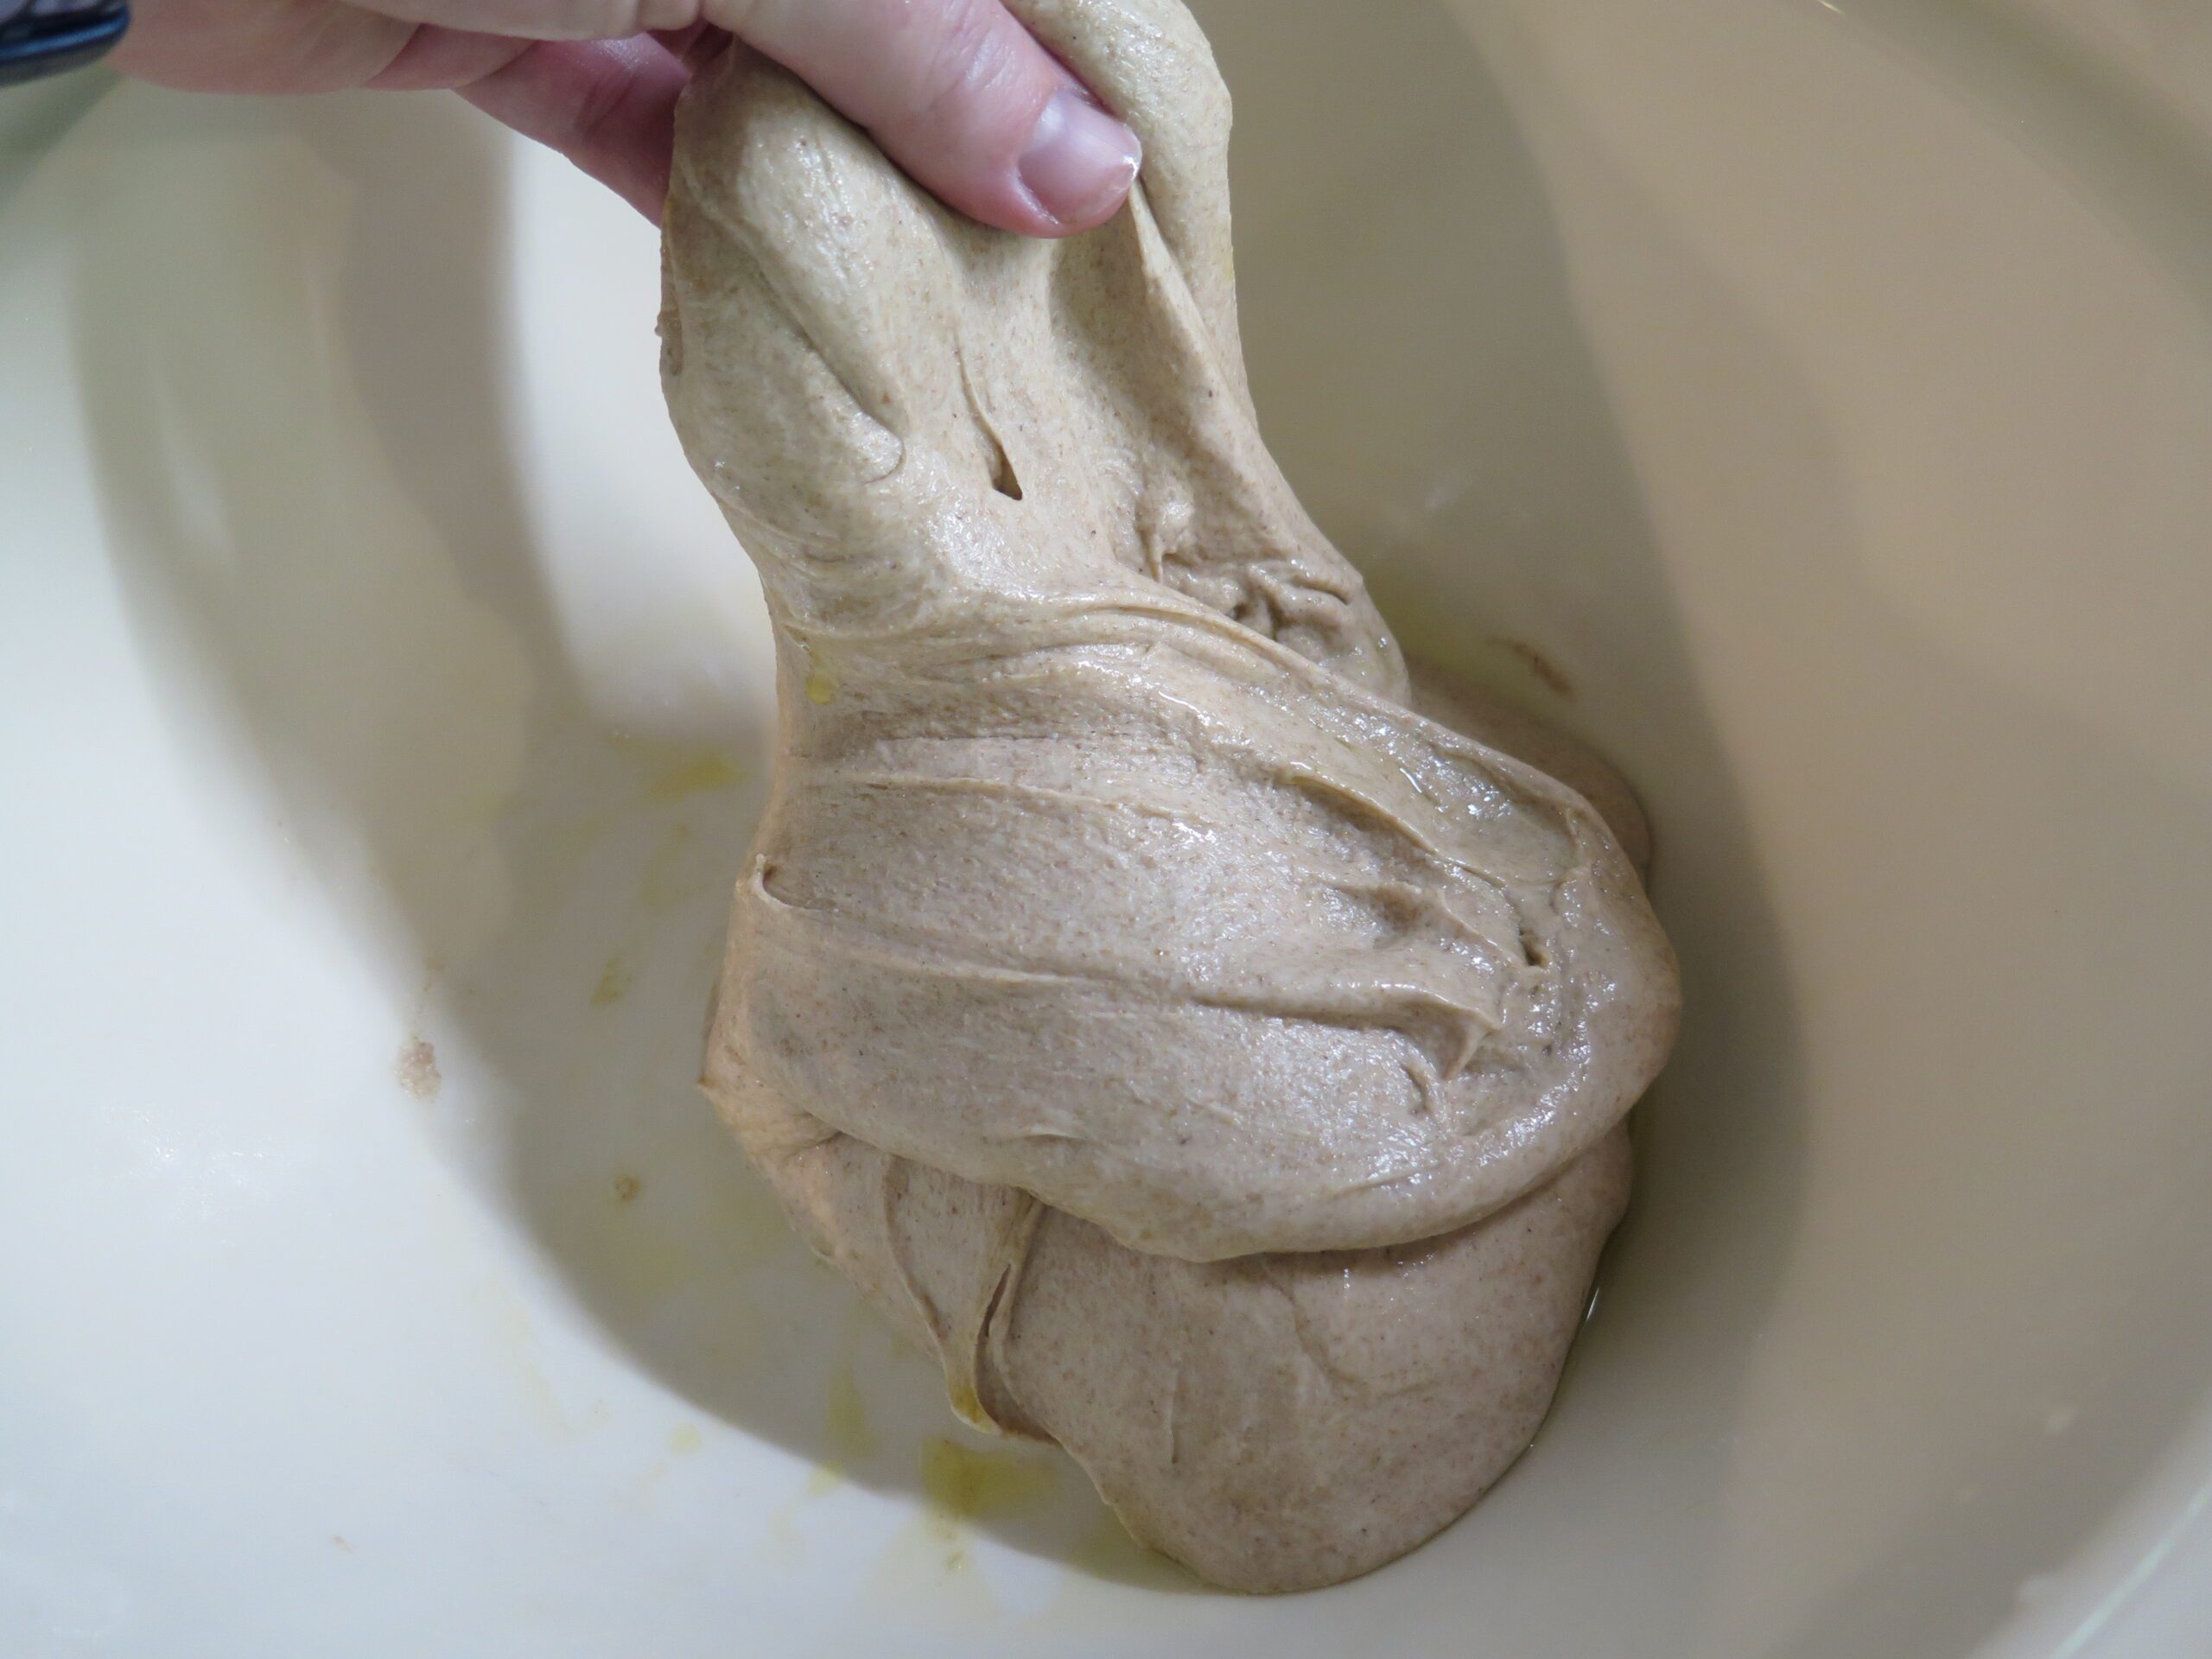
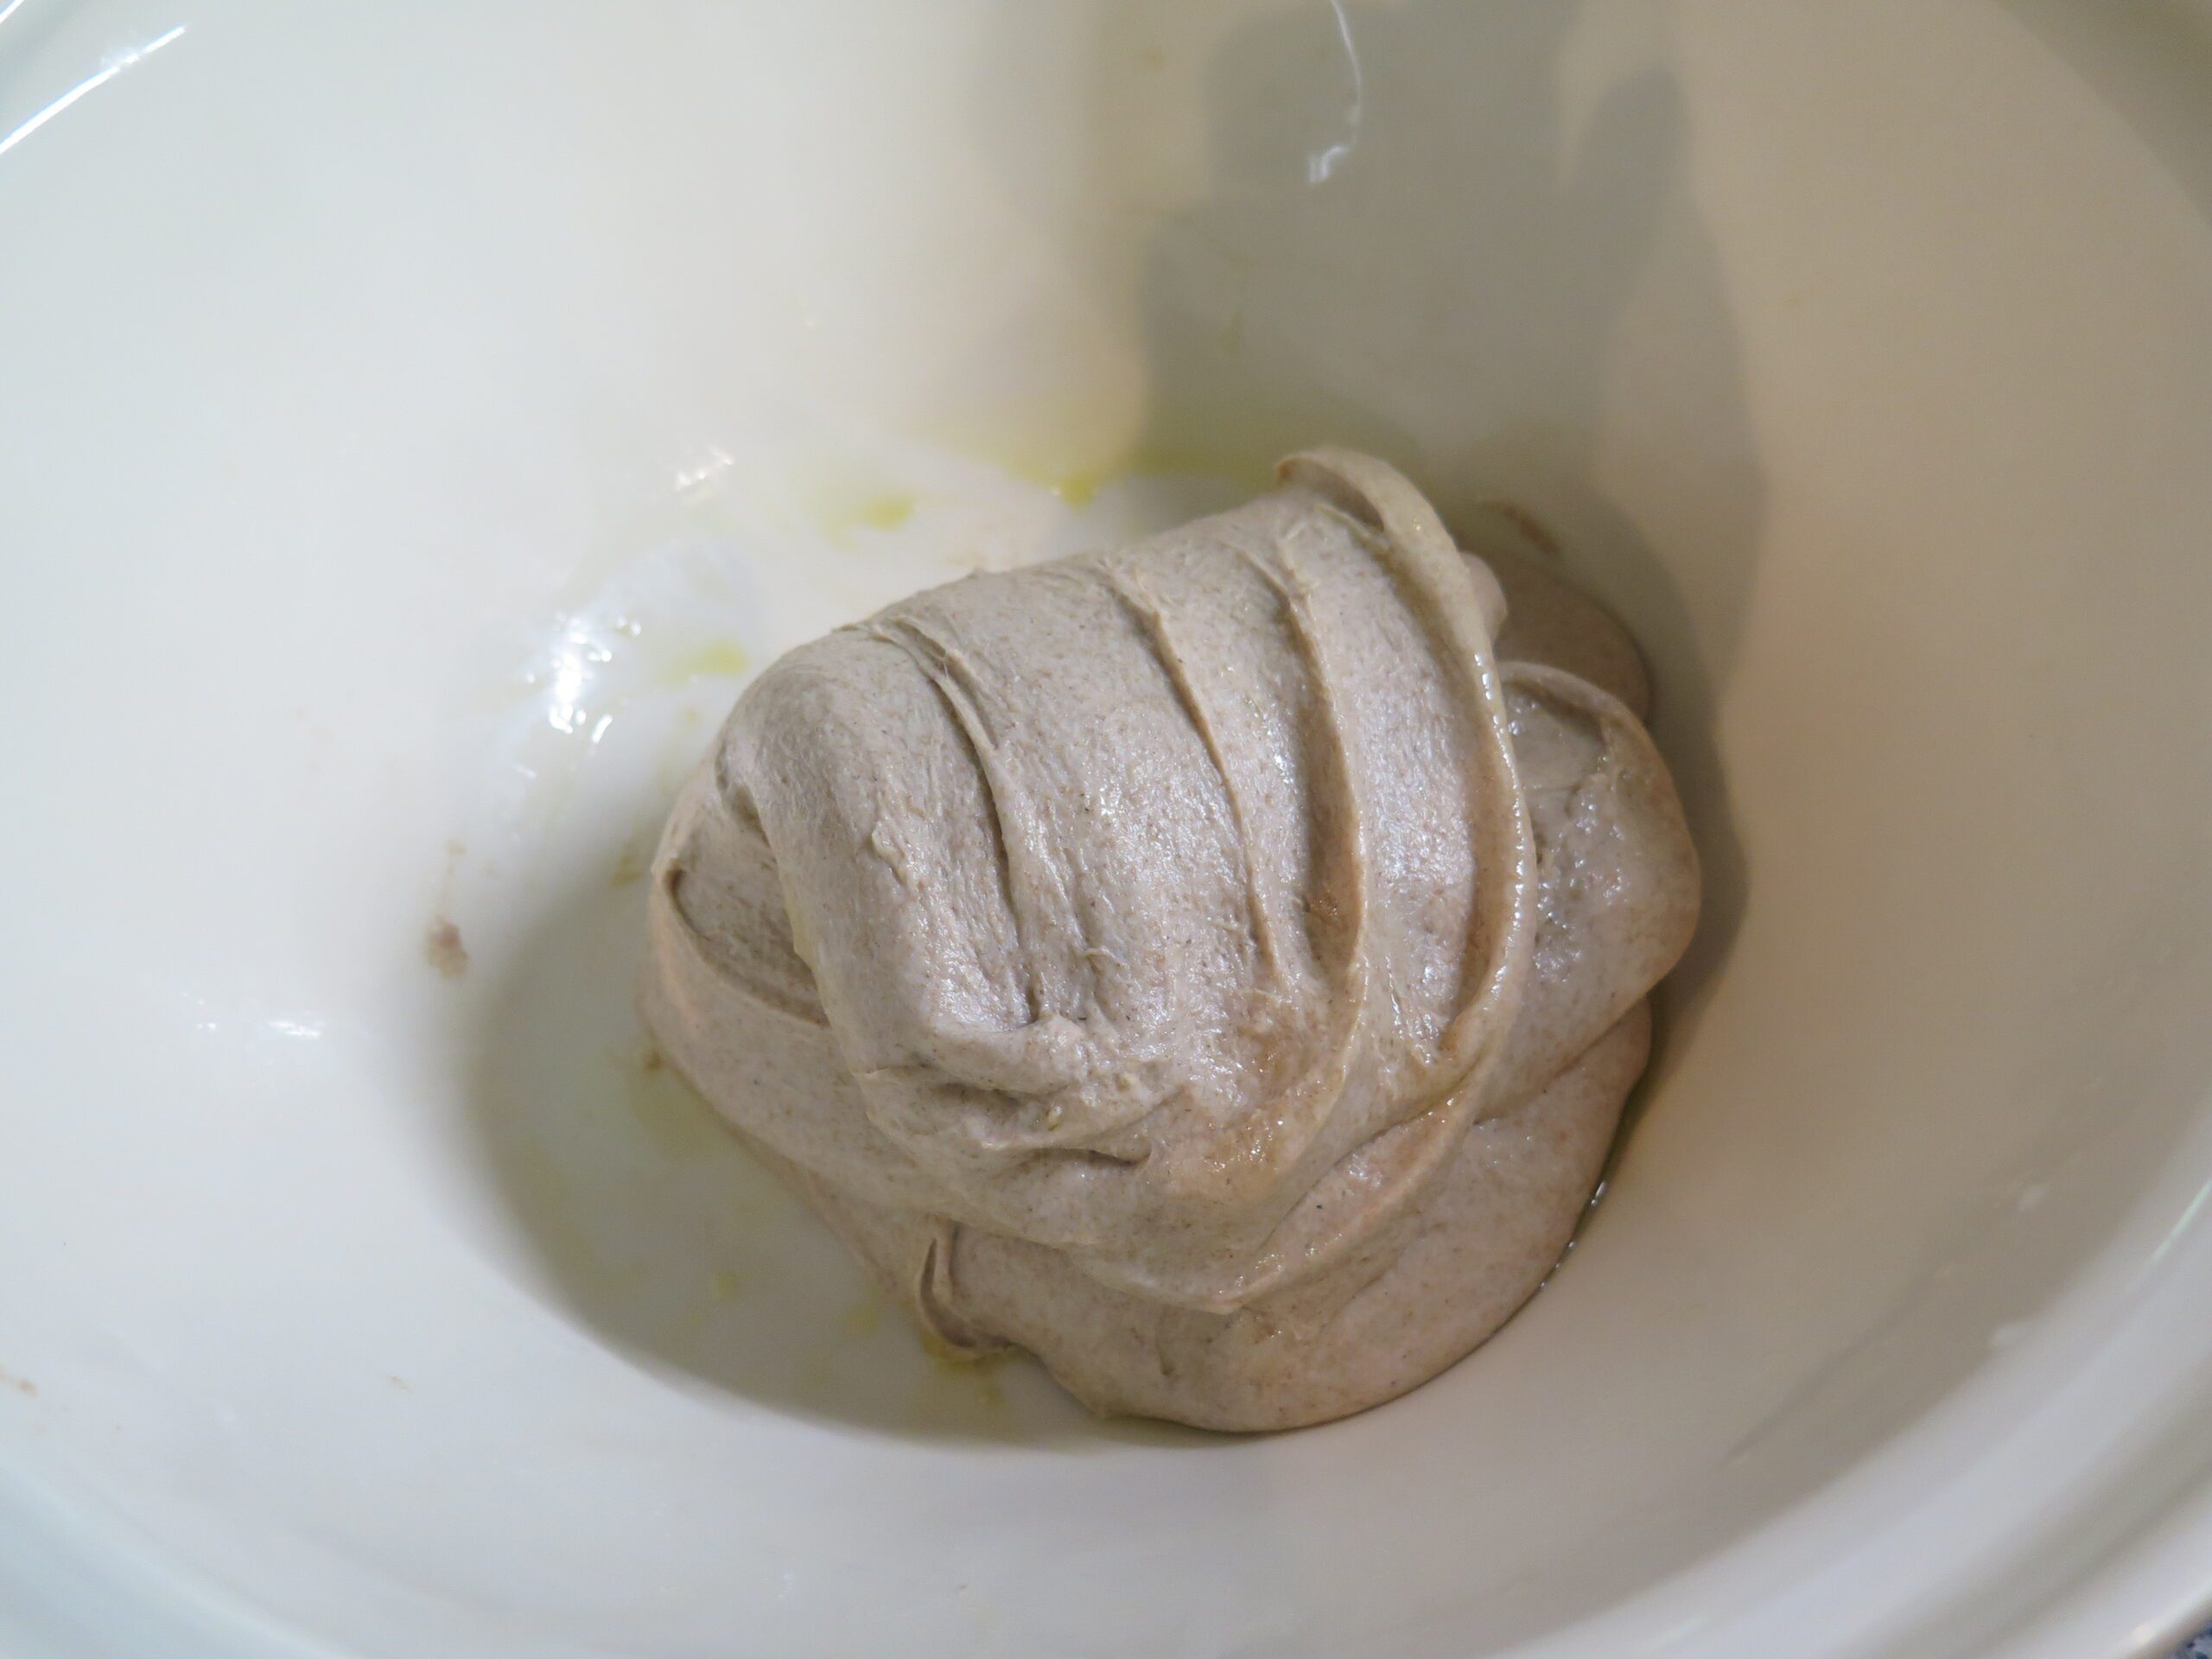
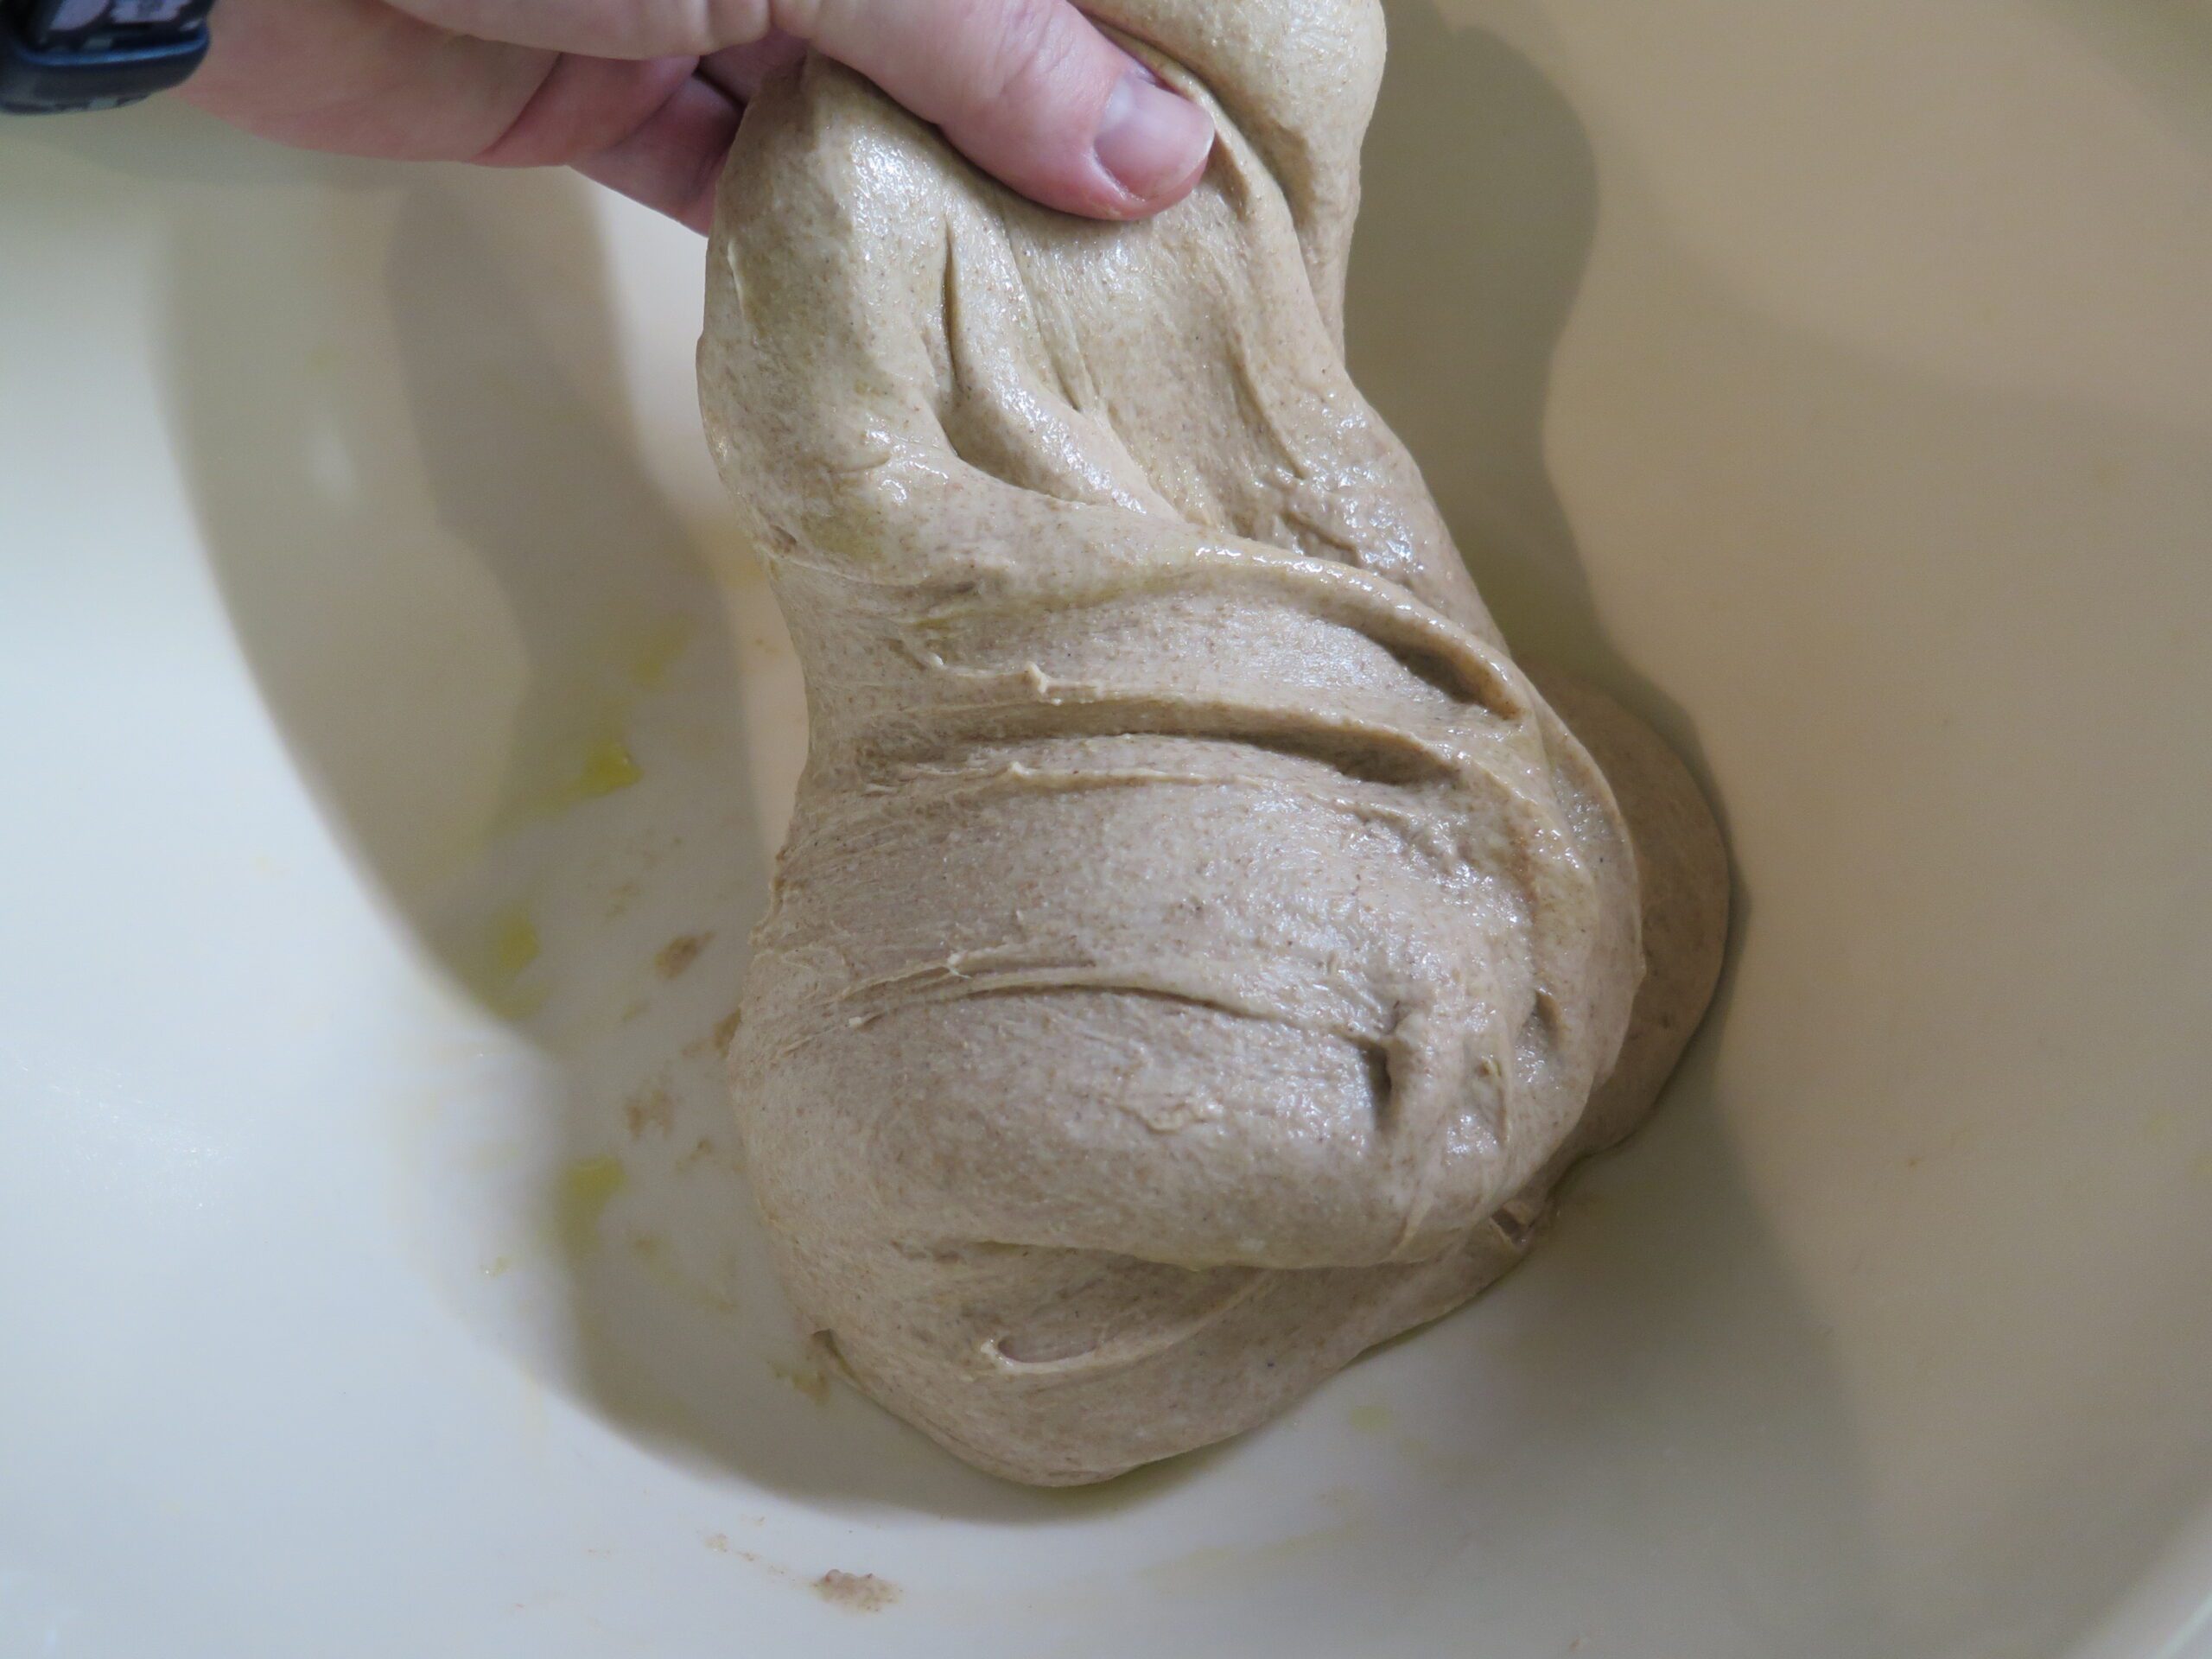
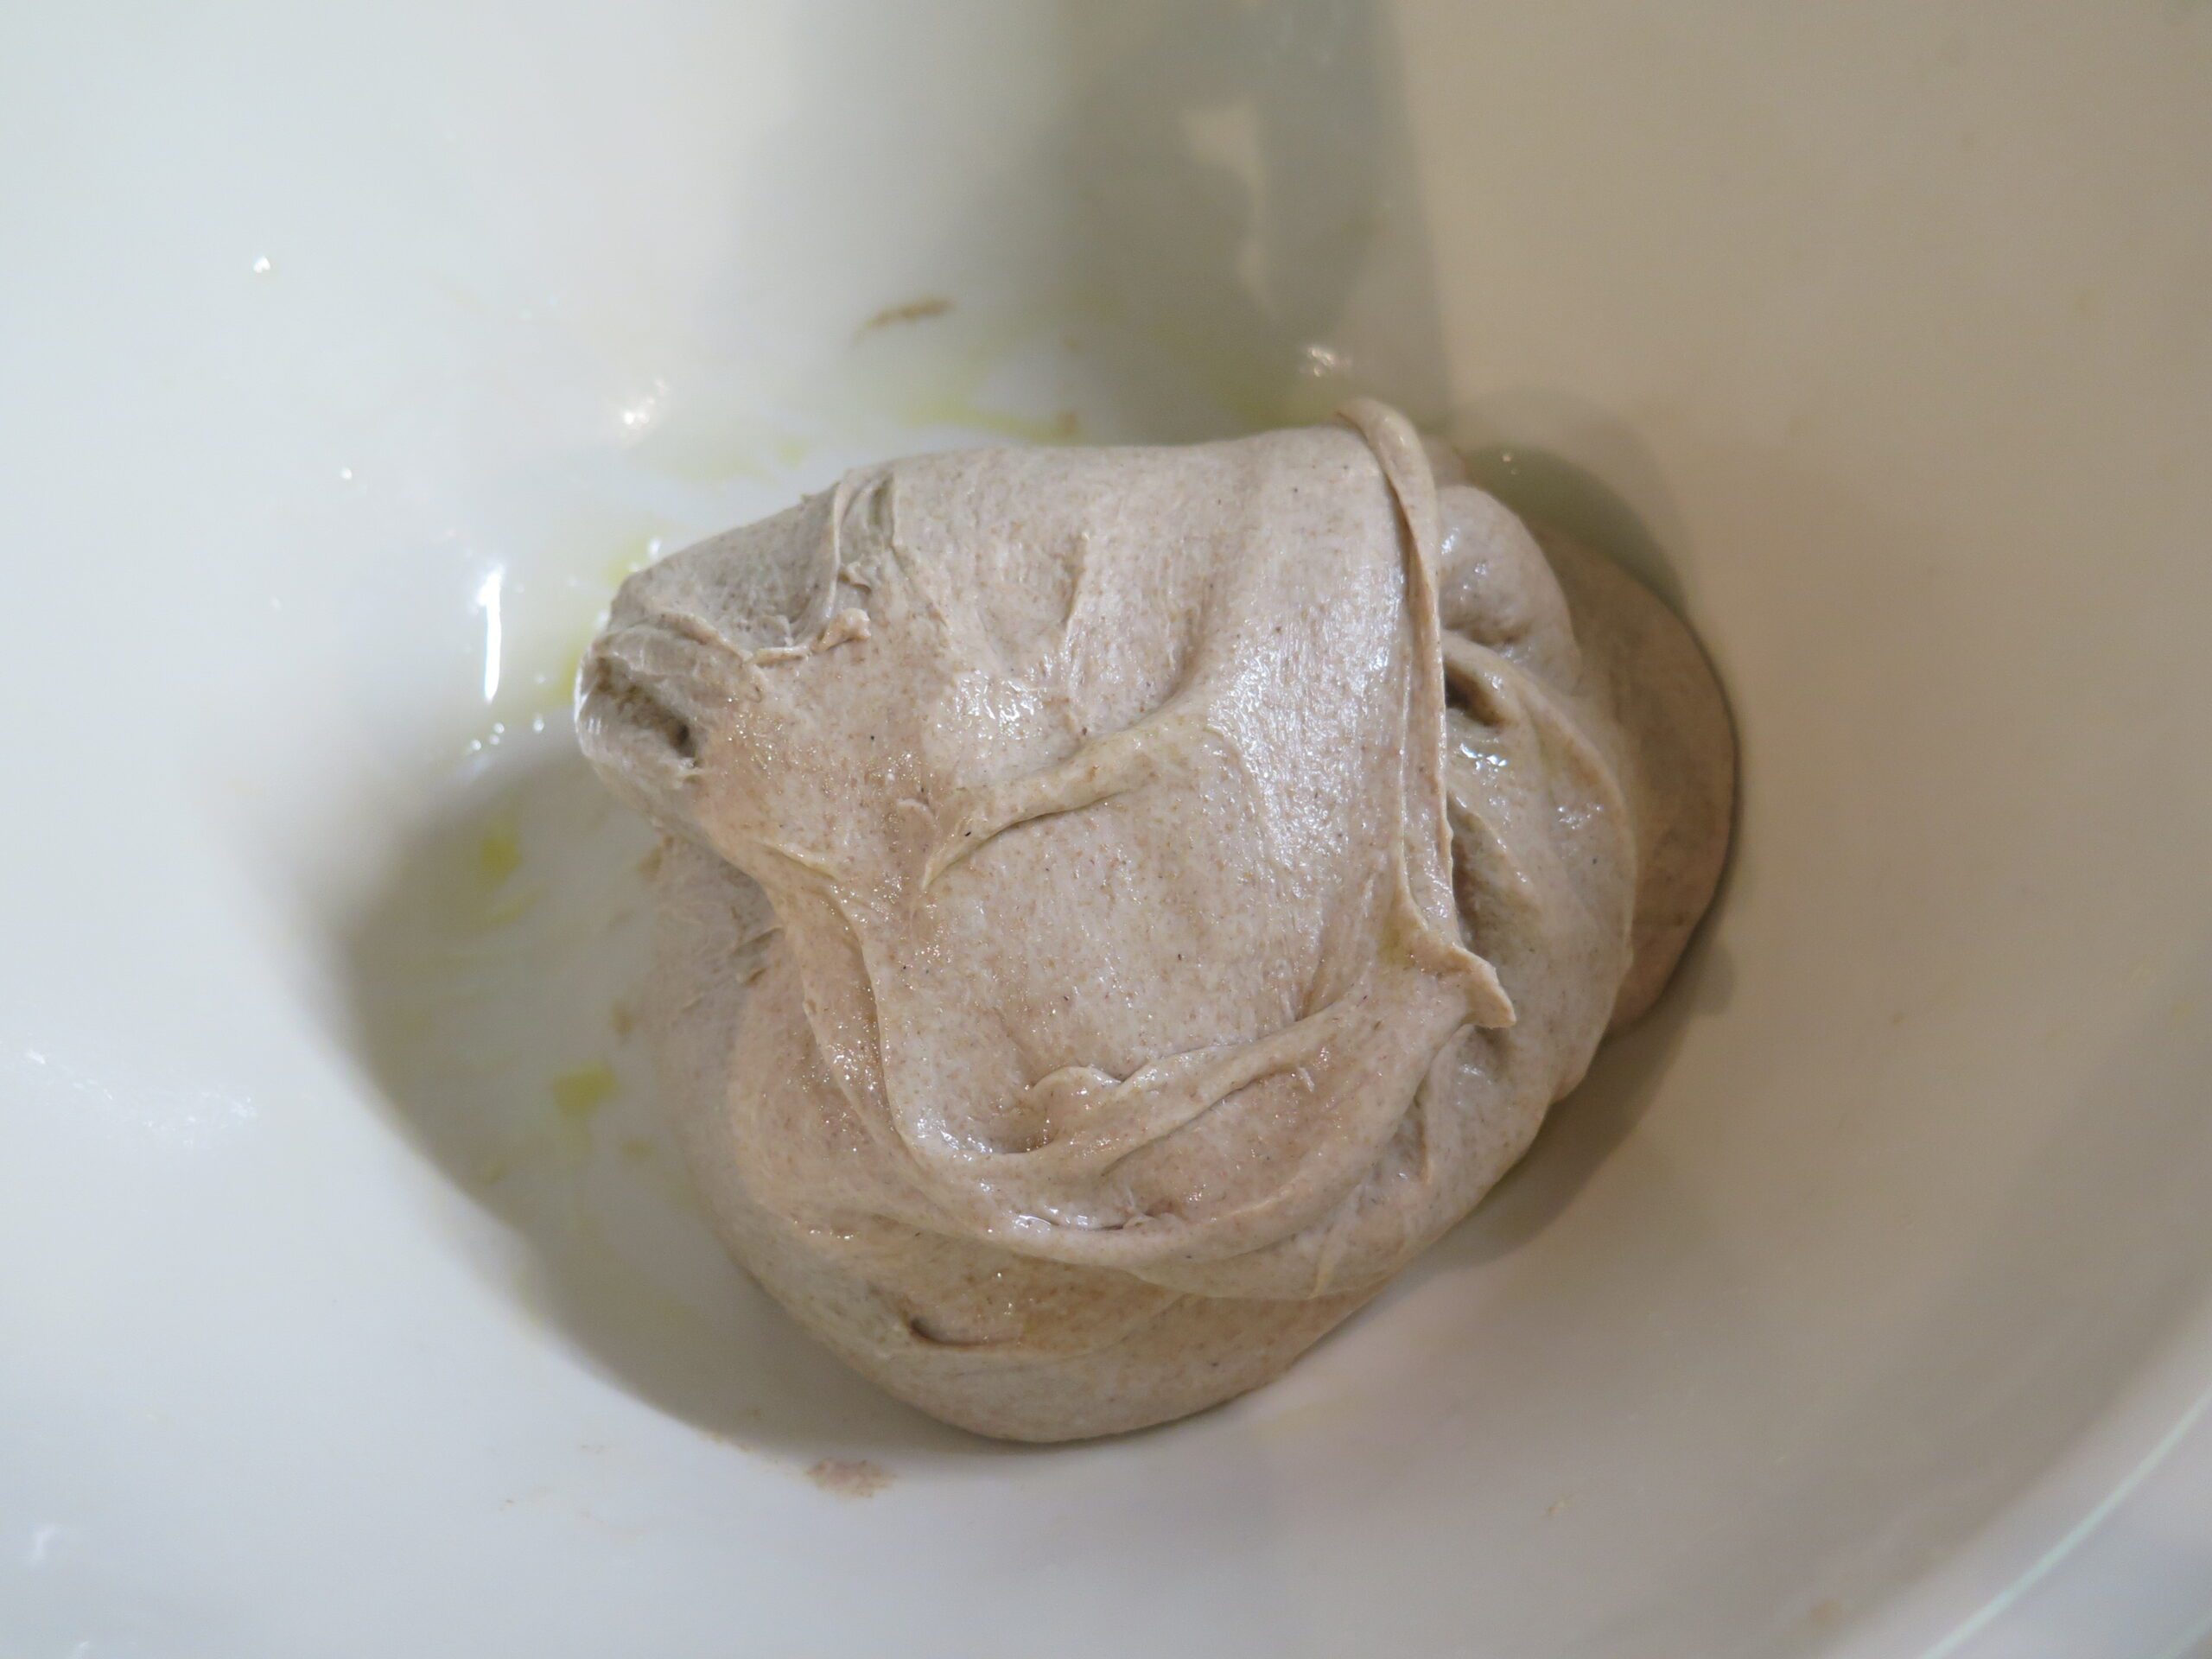
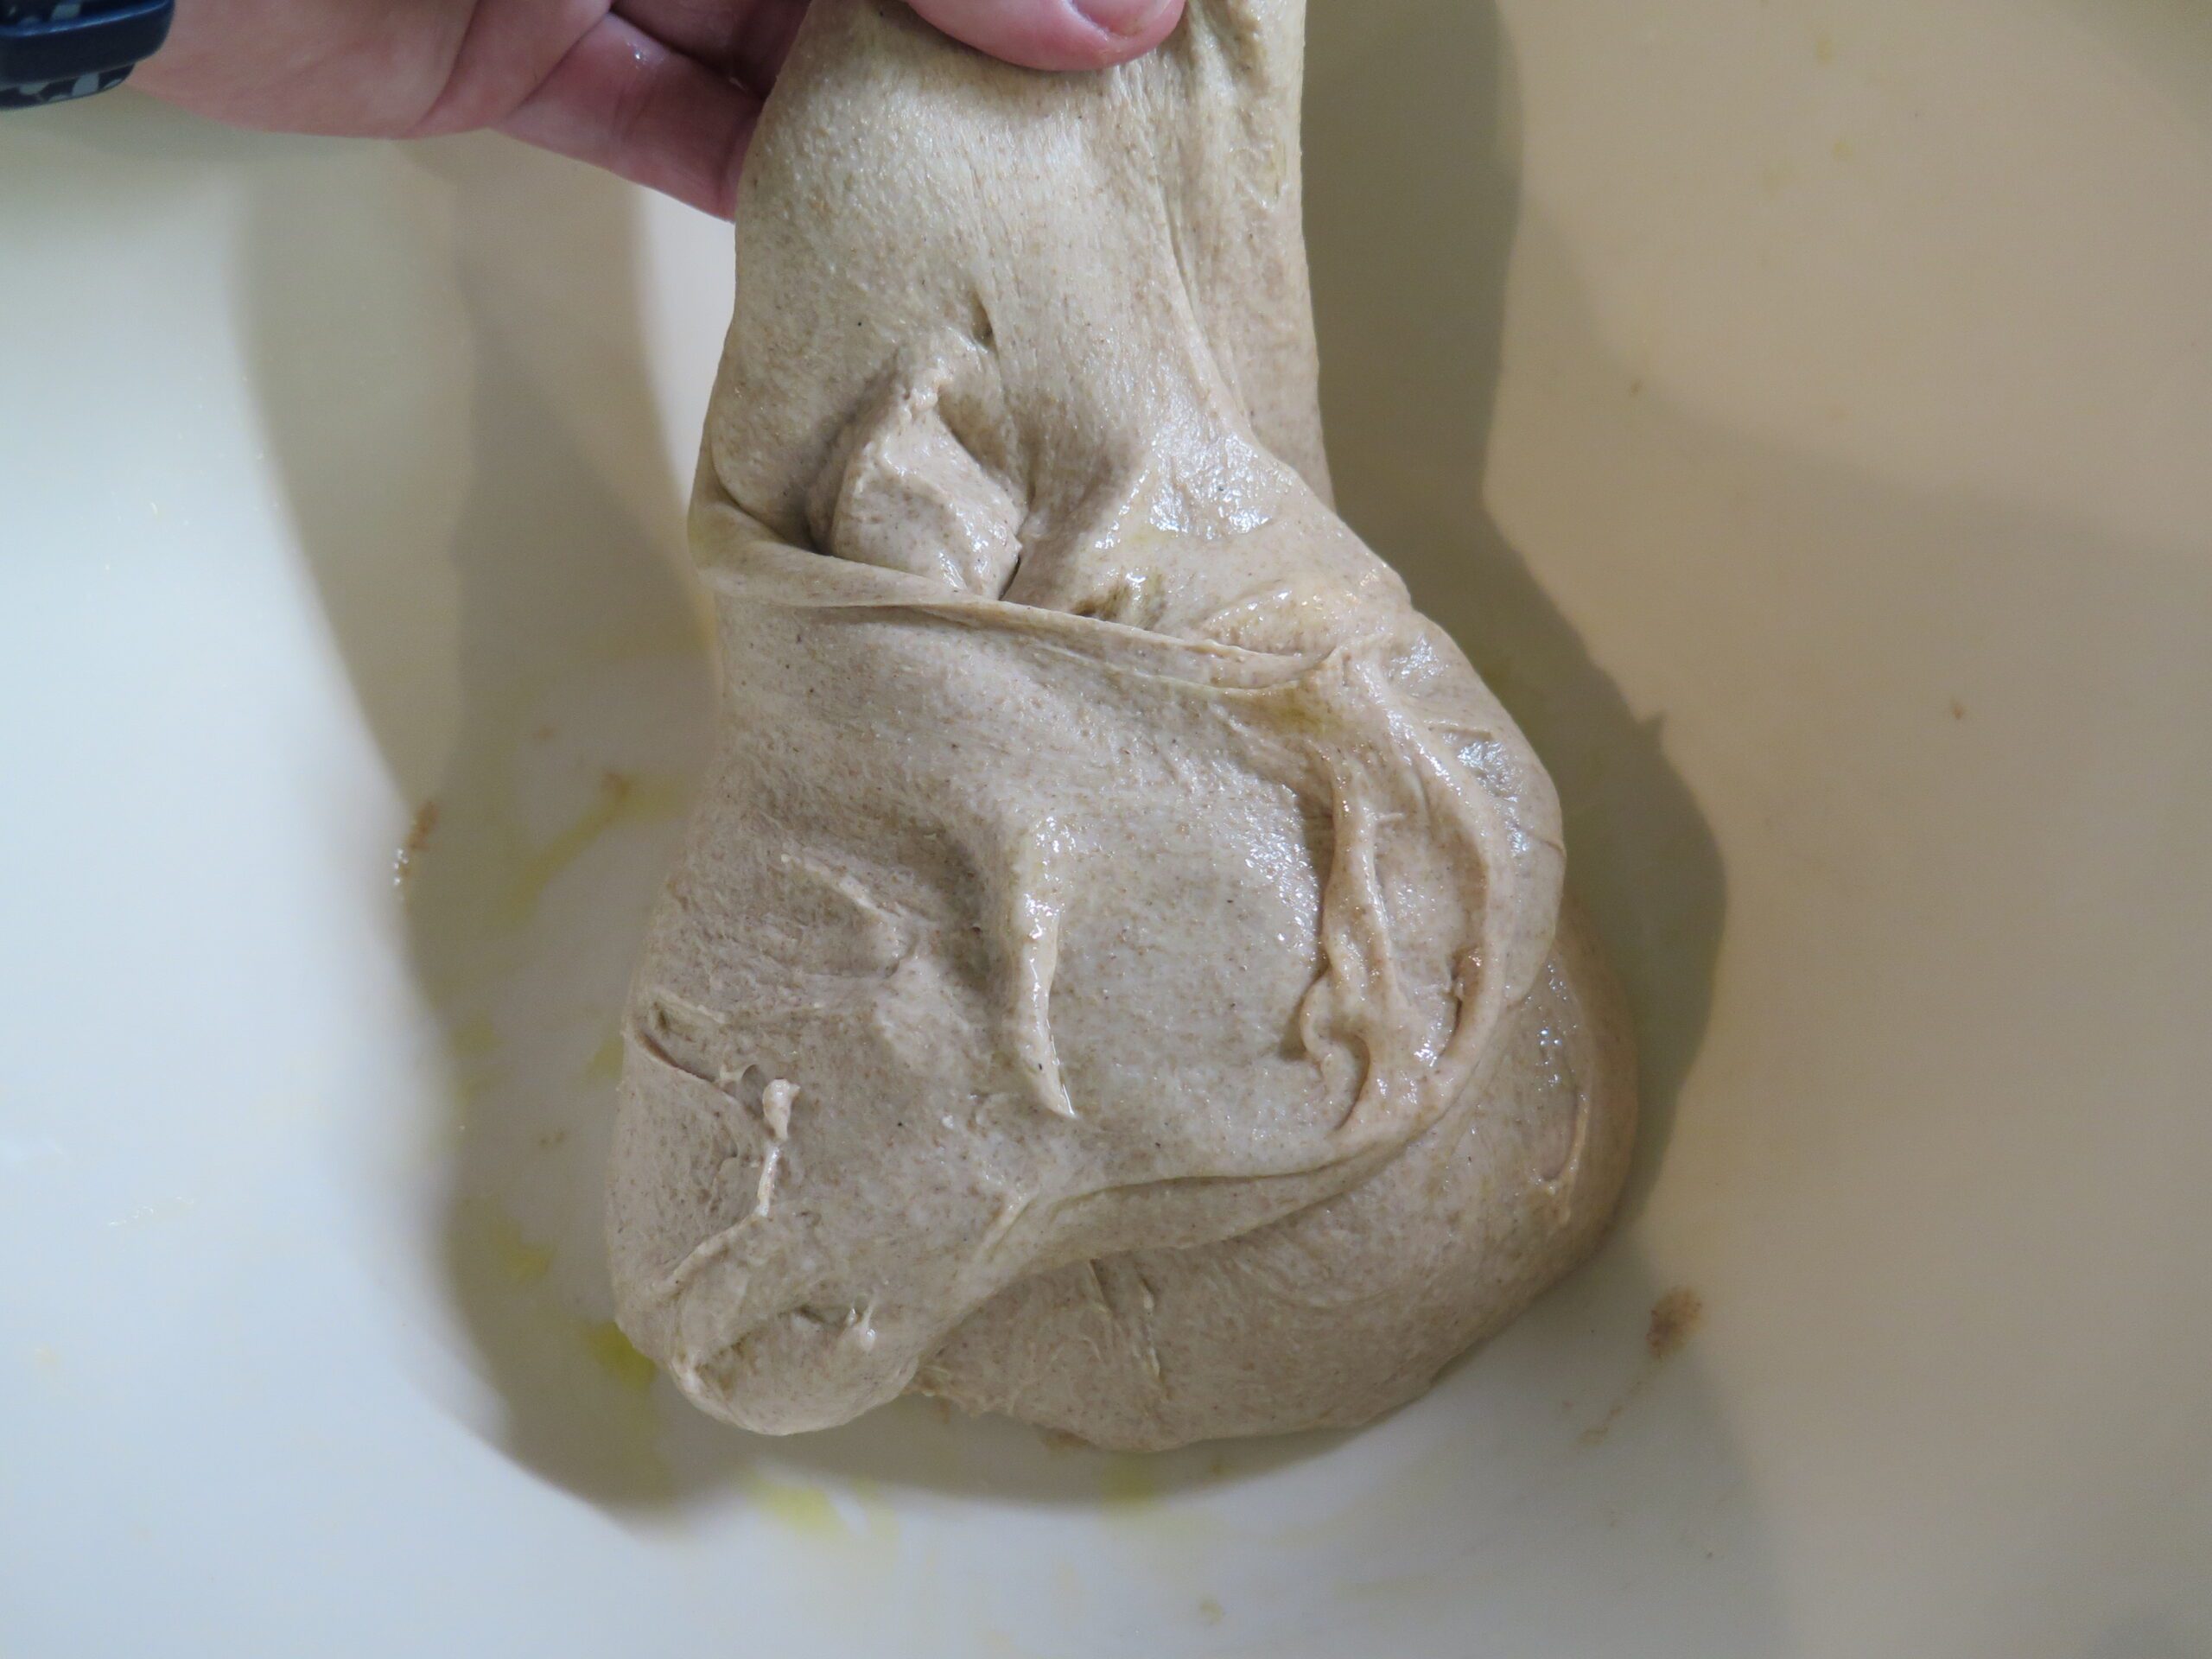
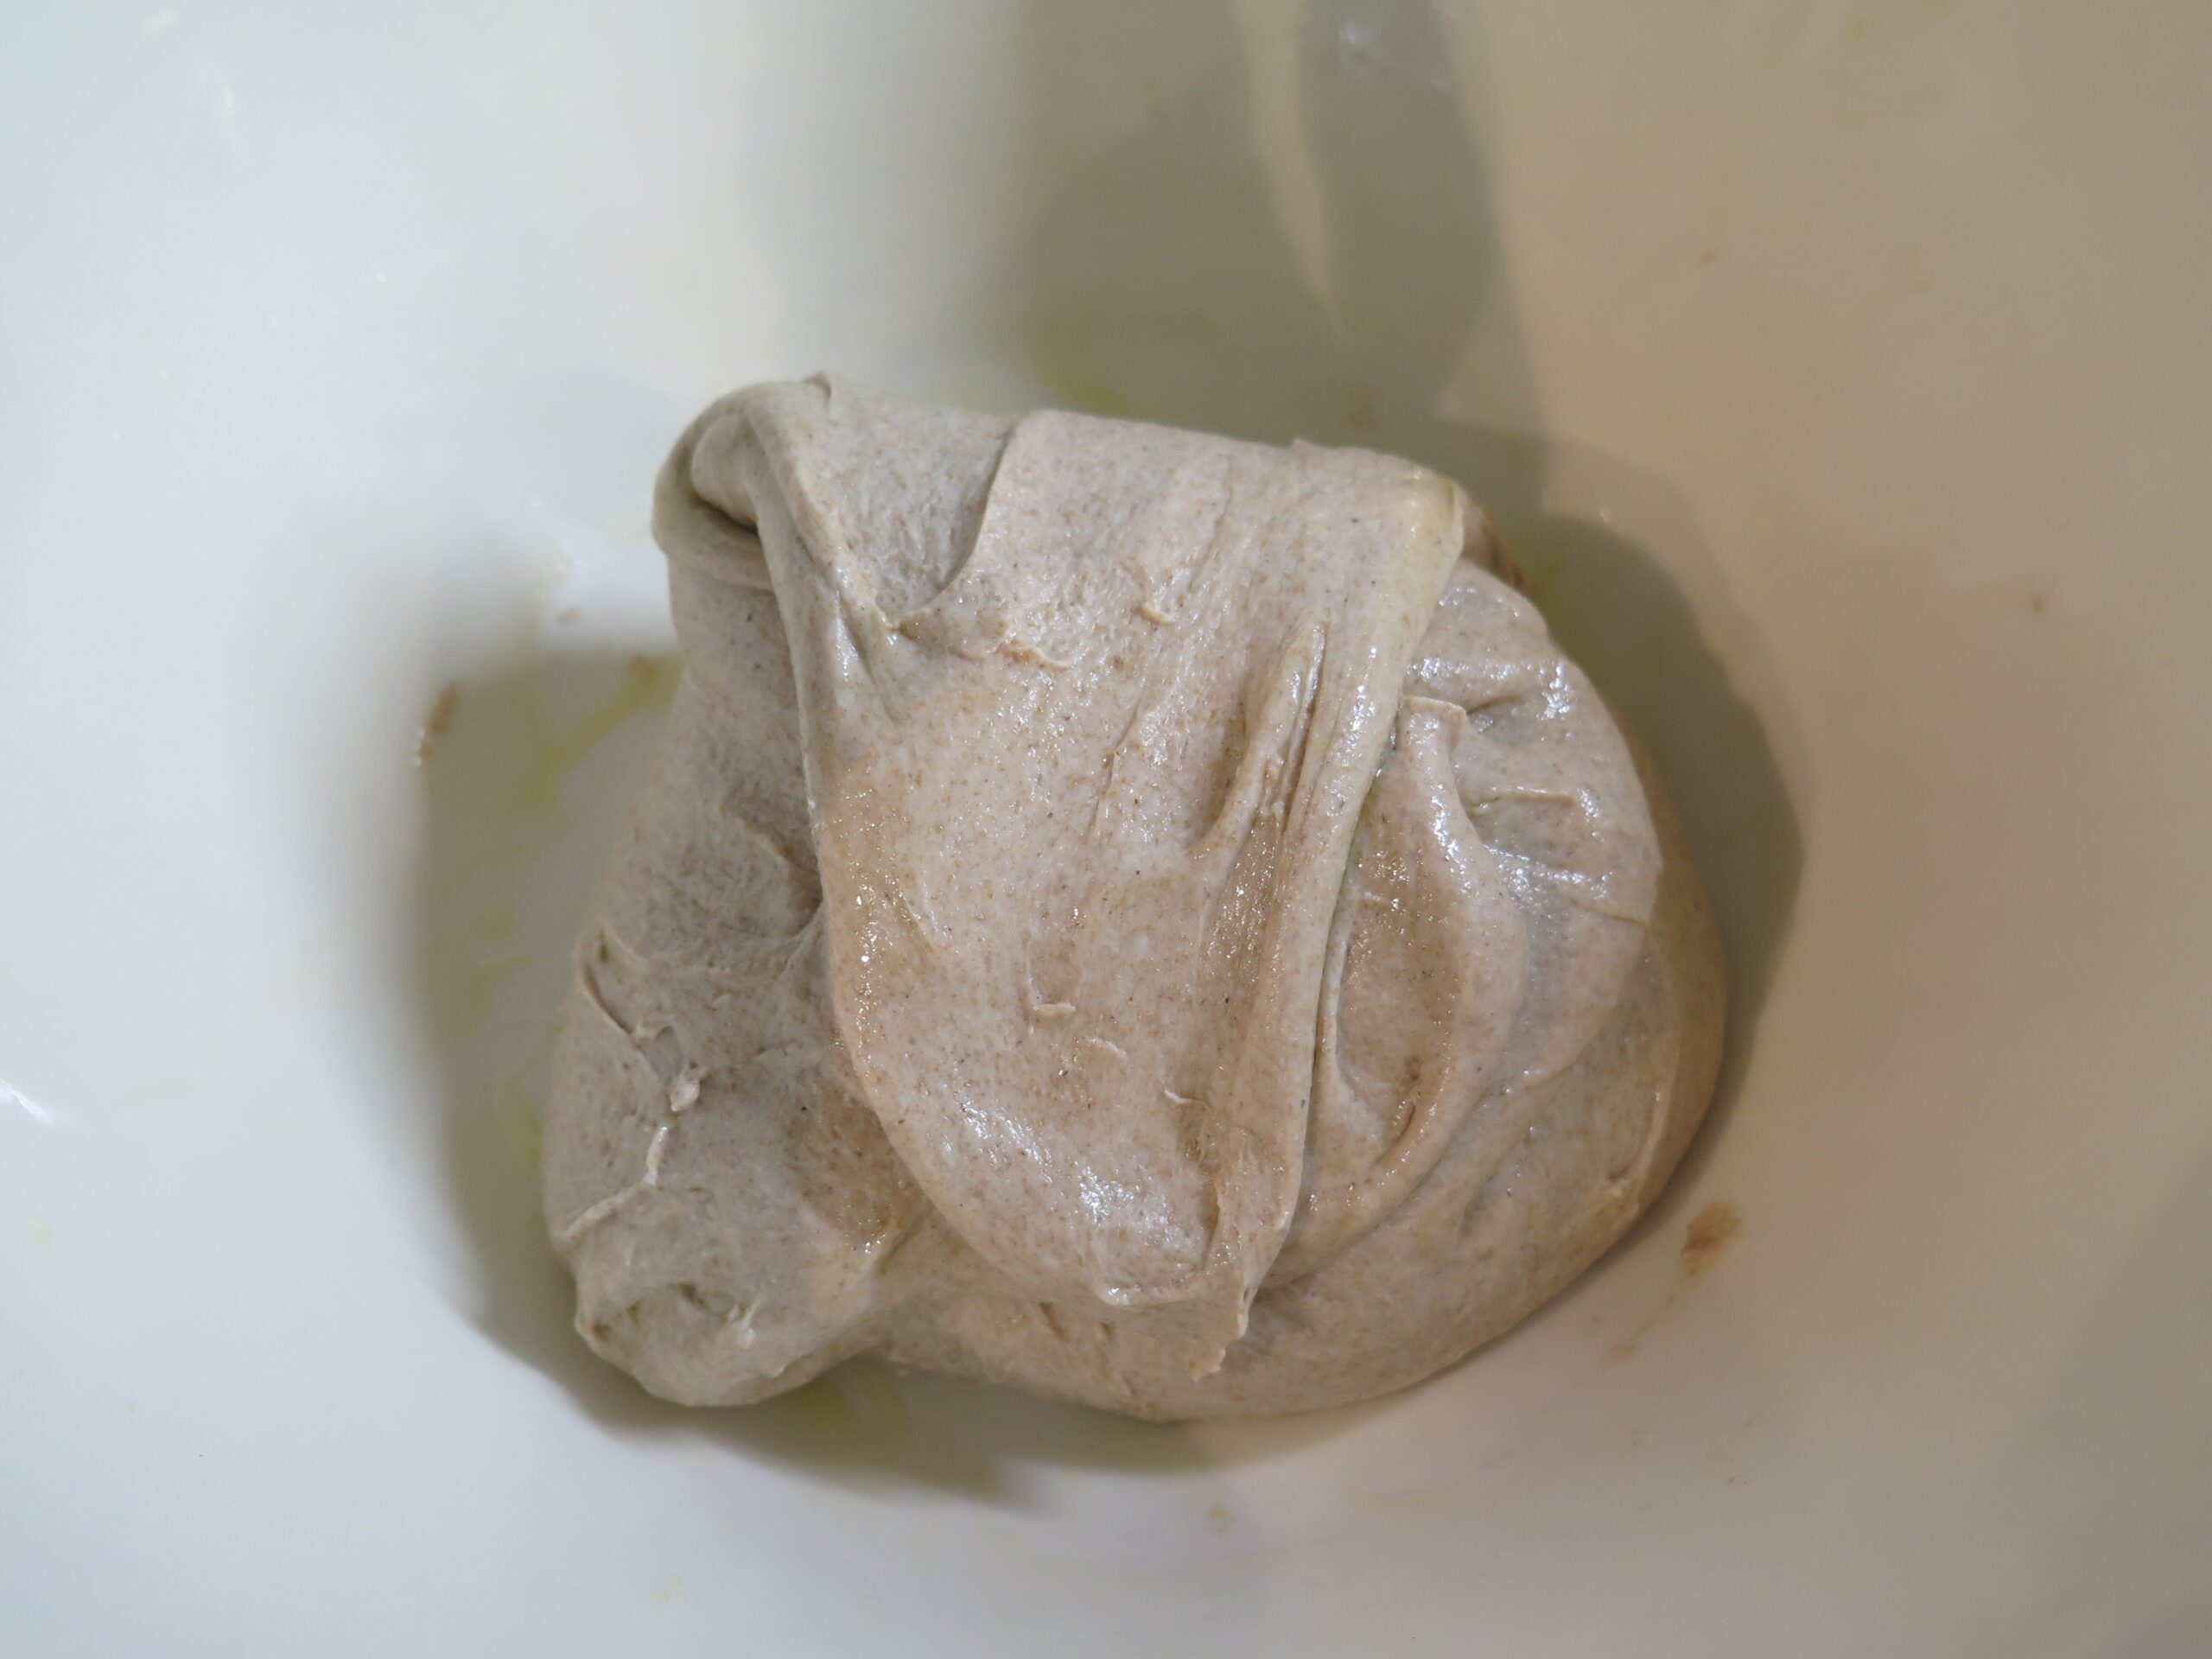
You are going to grab a section of the dough and pull it over onto itself. Turn your bowl a quarter turn, and repeat. Grab a section of the dough and pull it over onto itself. Do this 4 times in total then turn the entire dough upside down so all the folds are now on the bottom of the bowl.
Cover again with plastic wrap and off to a warm location to proof for another 2 hours.
You are going to do this series of folds two more times resting for 2 hours between each time. In total, you have rested your dough for 6 hours and stretched the dough 3 times.
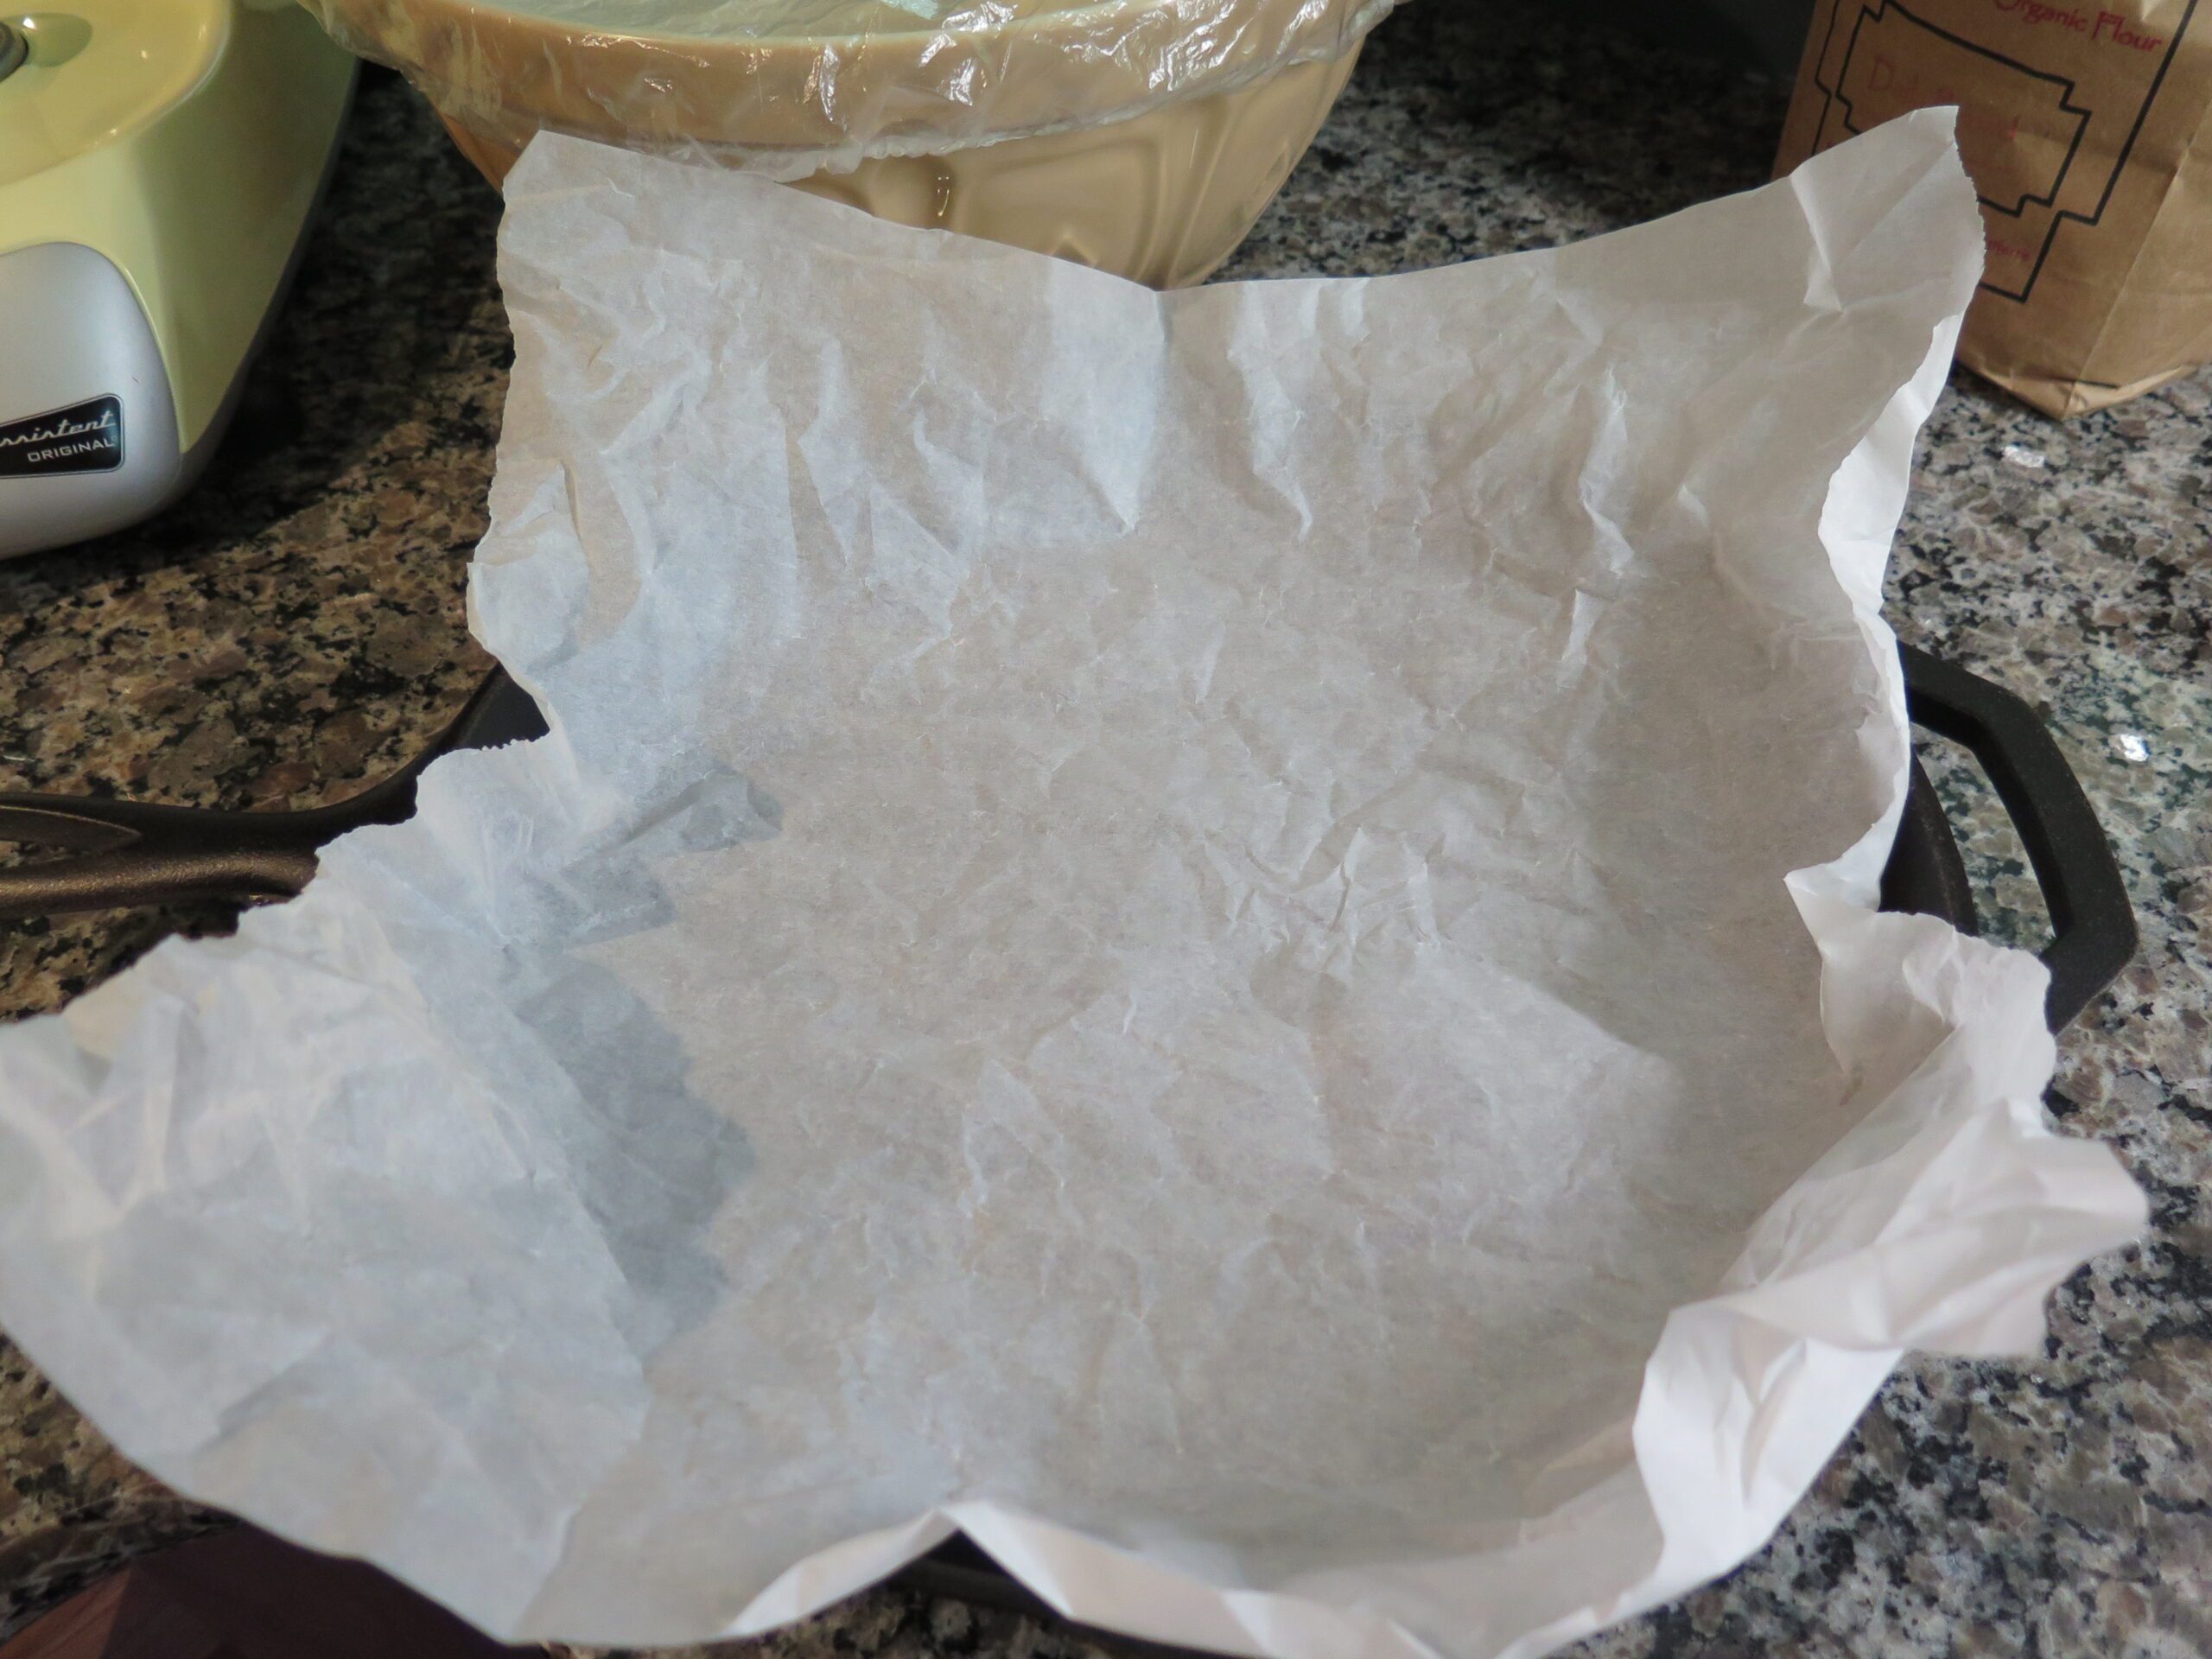
Get a piece of parchment paper around the size of your pan. If you crumple the parchment paper, it makes it easier to flatten to the bottom.

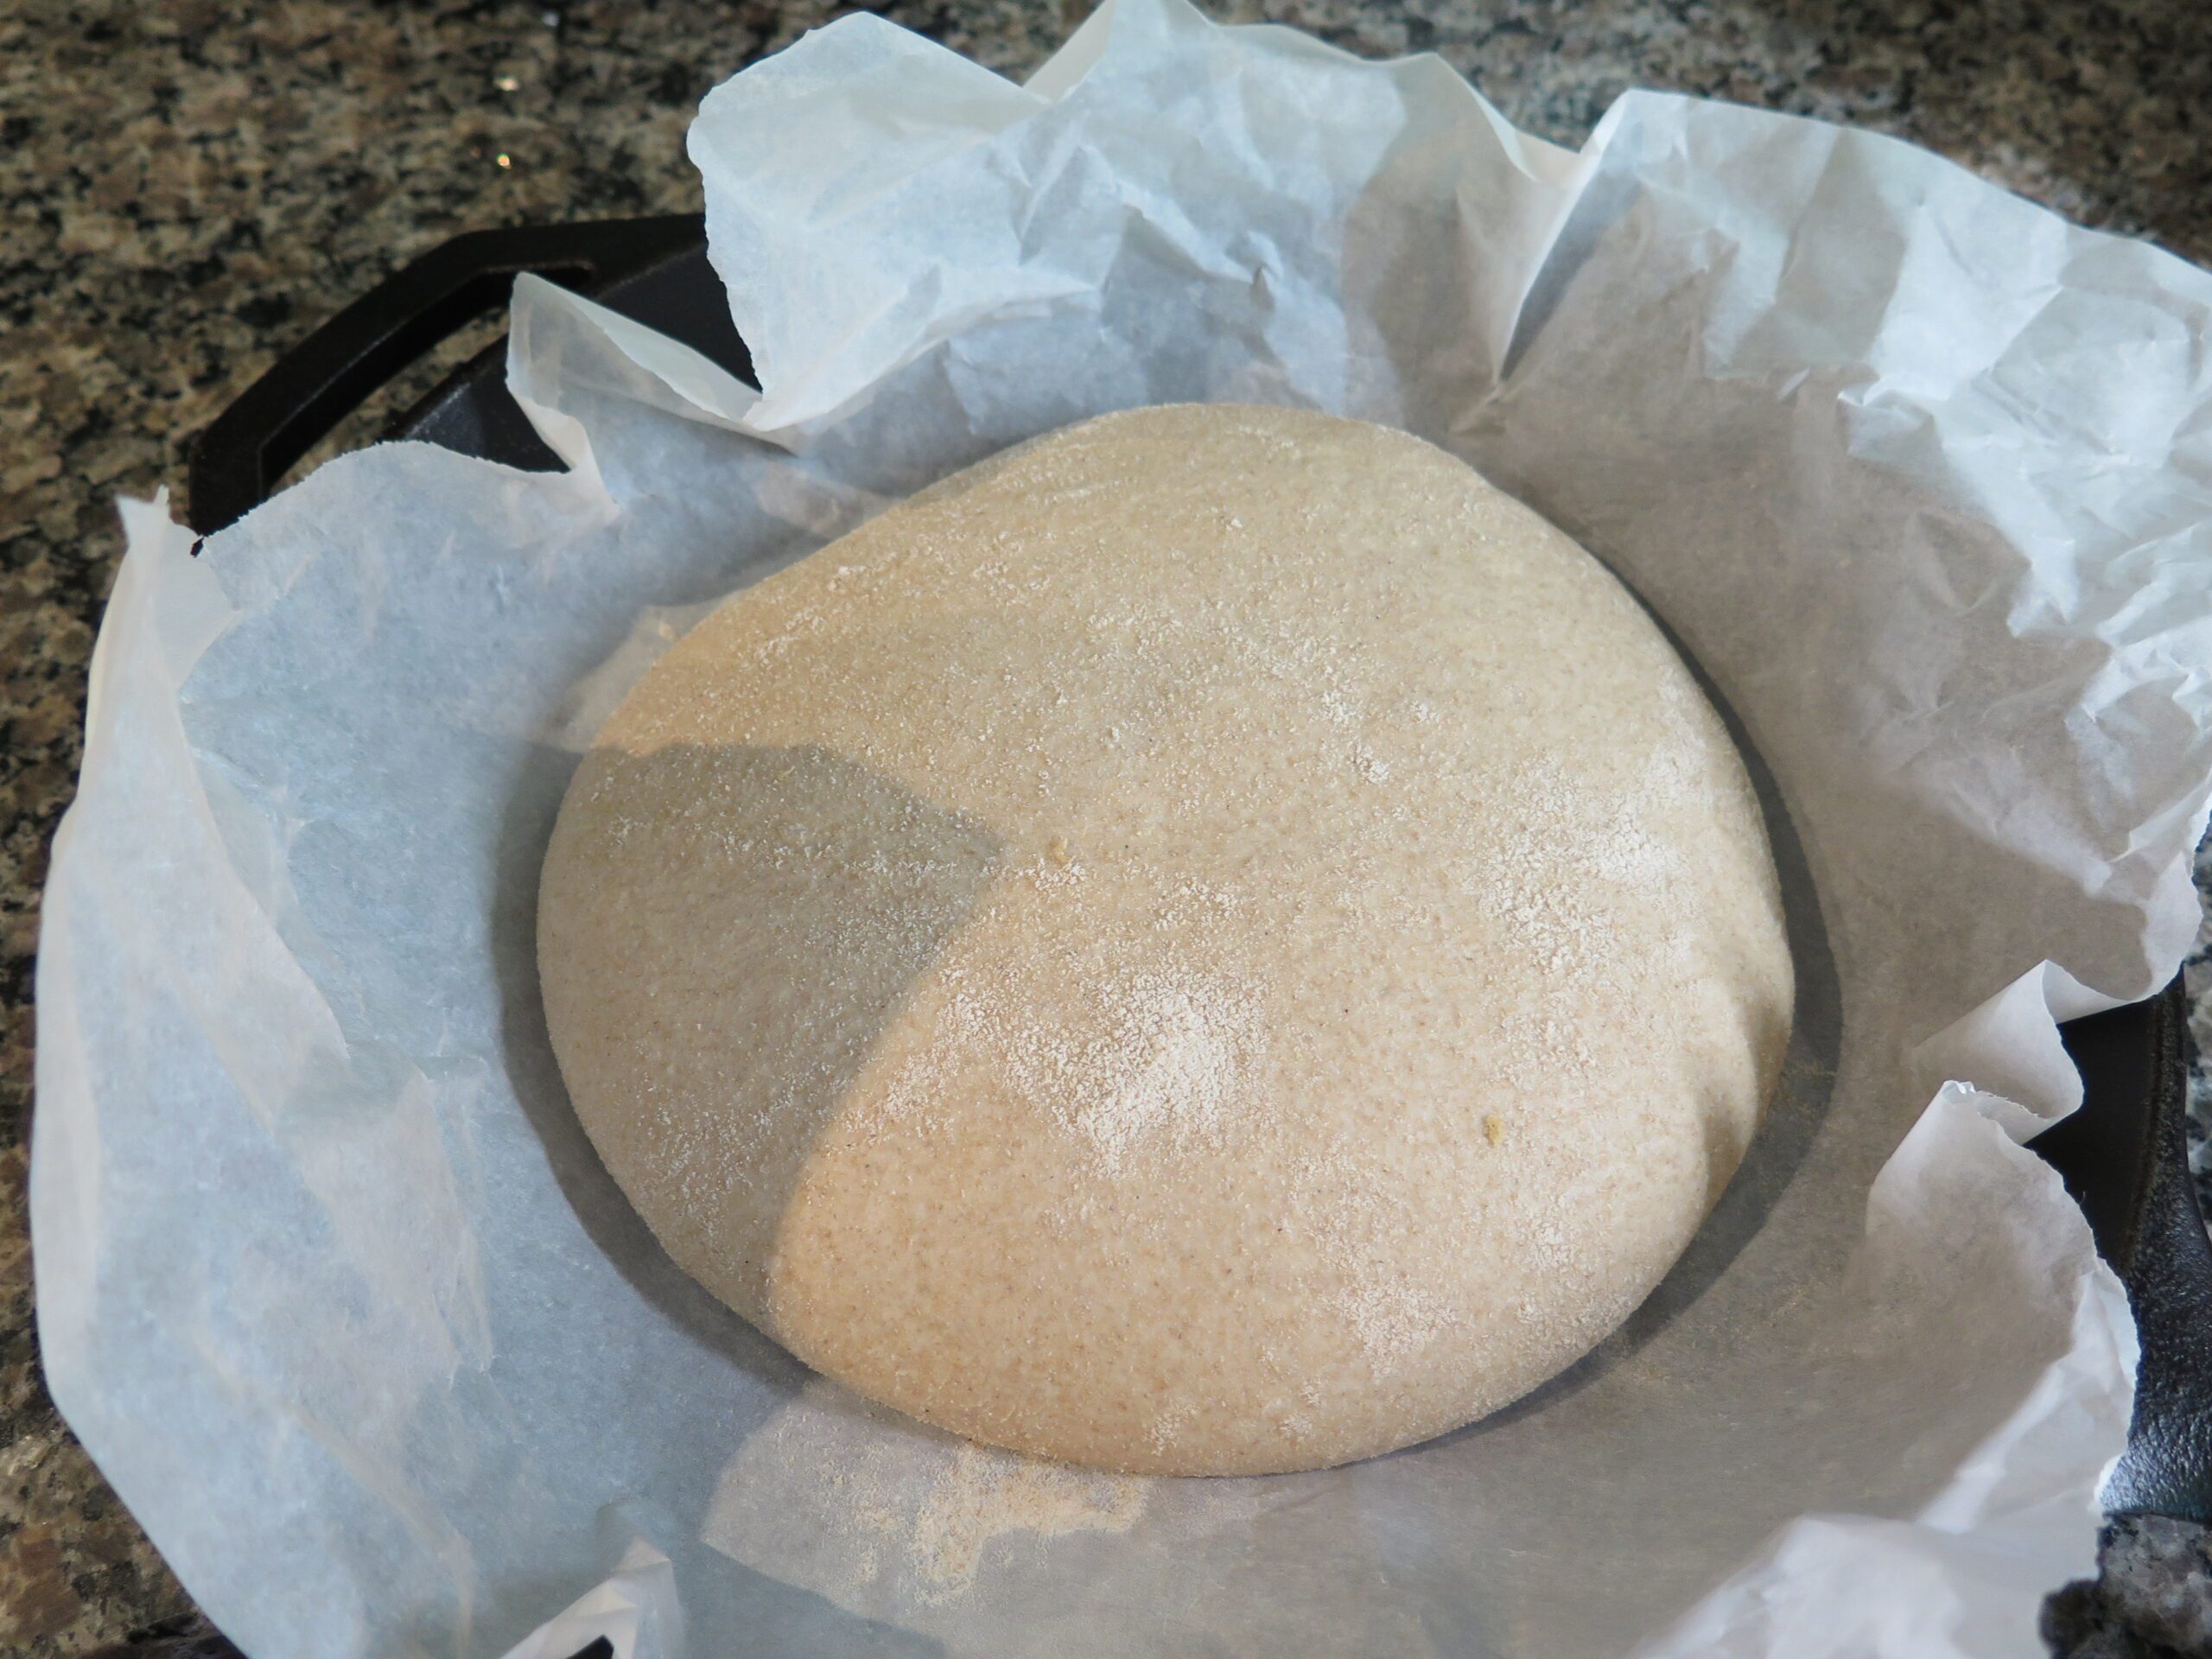
Flour the top of the dough and your hands and gently take the dough out of the bowl. Using your hands, shape it into a circle with a tight top. Do not knead your bread or knock the air out of it. You have spent the last 6 hours trying to get air into it. Add a bit more flour to the top and off to rest it goes for 1 hour and 15 minutes.
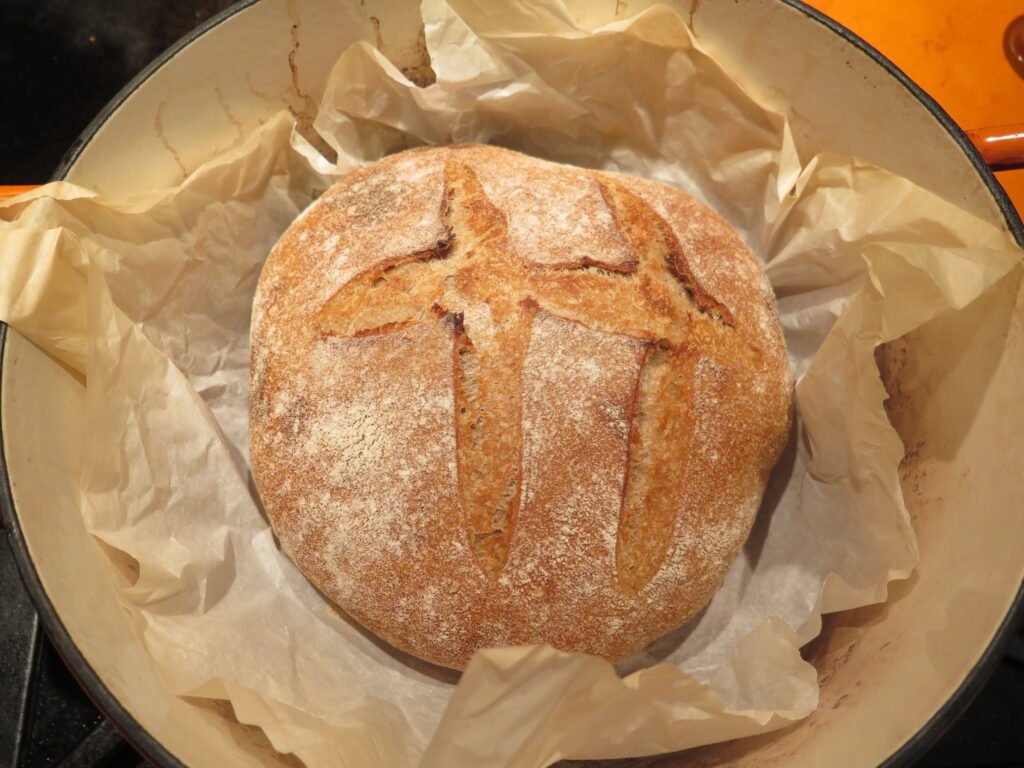
After 30 minutes of resting, take your dutch oven with the lid and place it into a cold oven. Turn the heat up to 450 degrees Fahrenheit. This lets your dutch oven come up to temperature with your oven. The dutch oven will sit in the heated oven for 45 minutes while your dough finishes its final proof.
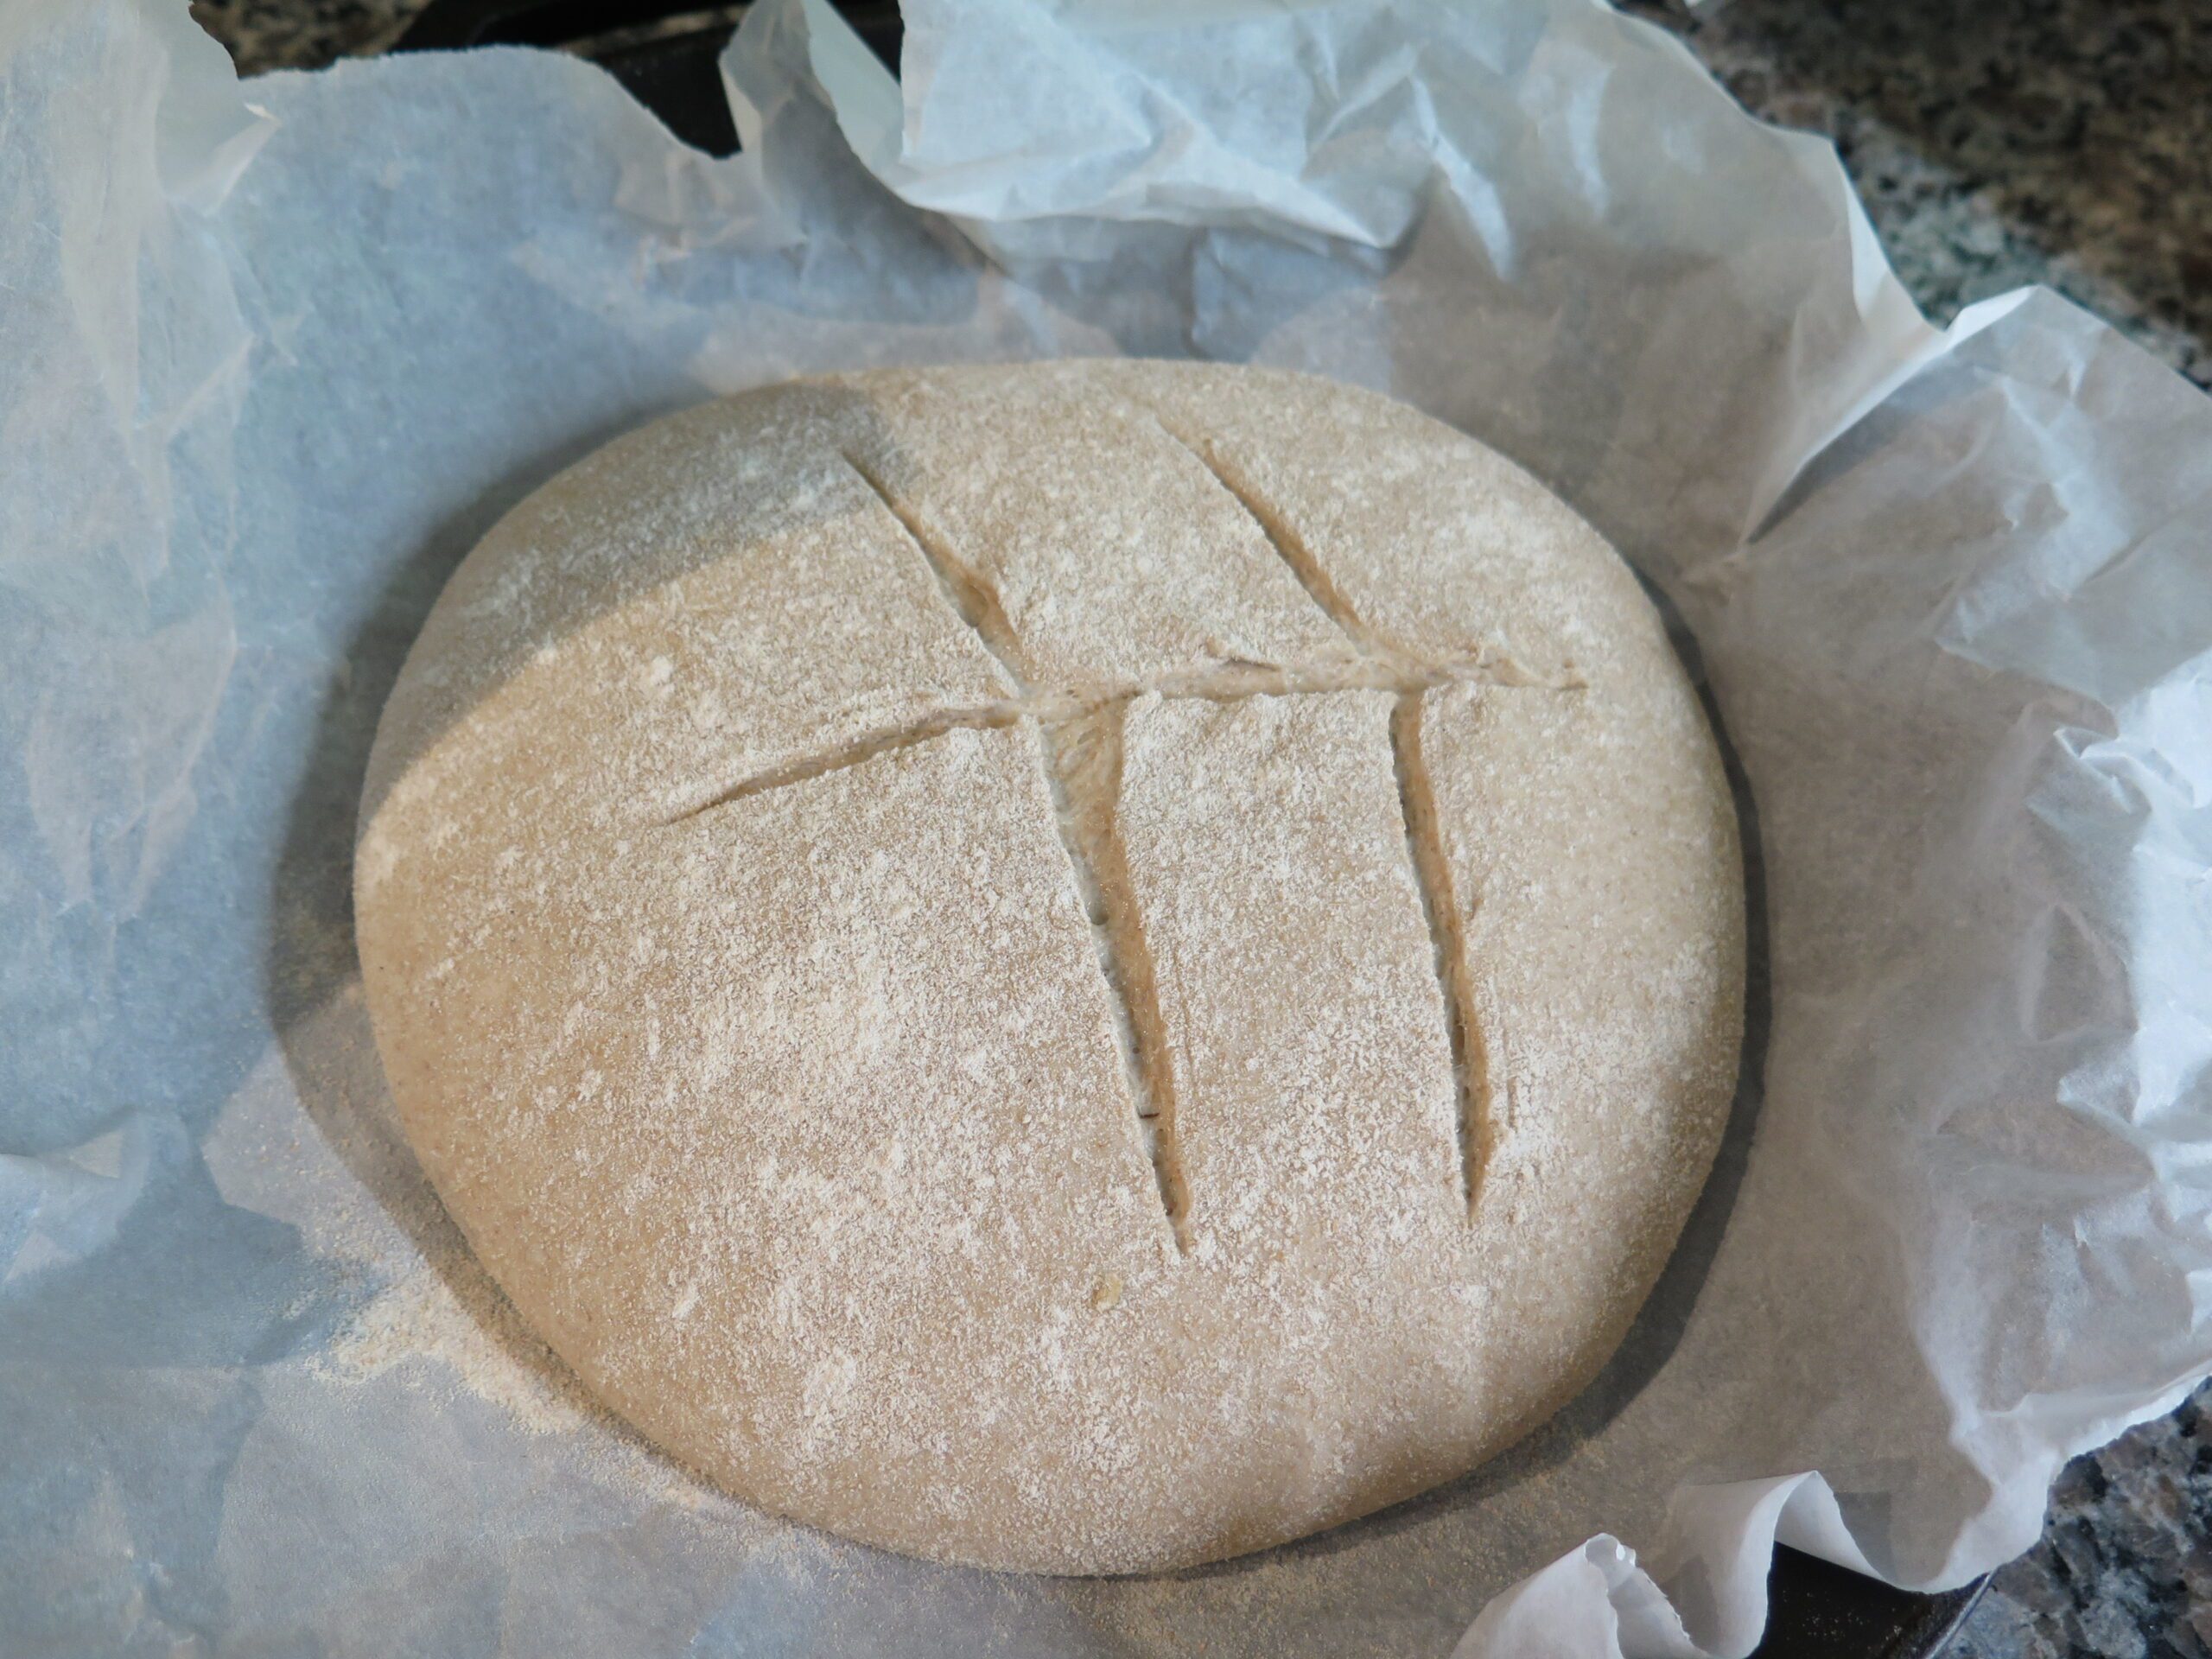
Score some cuts into the top of your dough. I use a bread lame but a very sharp knife will do the trick as well. Be careful to not push down or pull too much on your dough. Again, you don’t want to deflate all your hard work.
Using the parchment, lower your dough into the very hot dutch oven. Your bread is going to bake on the parchment. This is not a problem.
Place the lid back on and bake for 15 minutes. Take the lid off and lower your oven temperature to 425 degrees Fahrenheit. Bake for another 10 to 15 minutes. You can tell the bread is cooked if you tap the bottom with your finger and it sounds hollow.
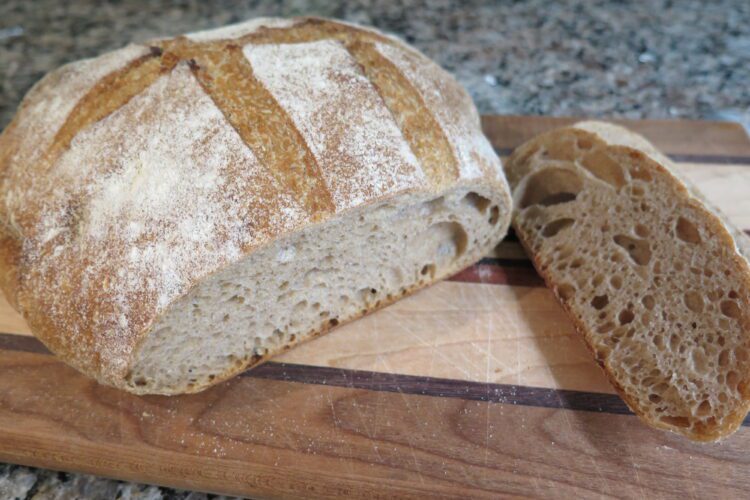
Take your bread out of the dutch oven and cool it on an elevated wire rack for at least an hour. Be patient and don’t cut into the bread while it is still warm. I also suggest an elevated wire rack since the bread will be hot and you don’t want the bottom to end up soggy because of moisture coming from the bread while it cools.
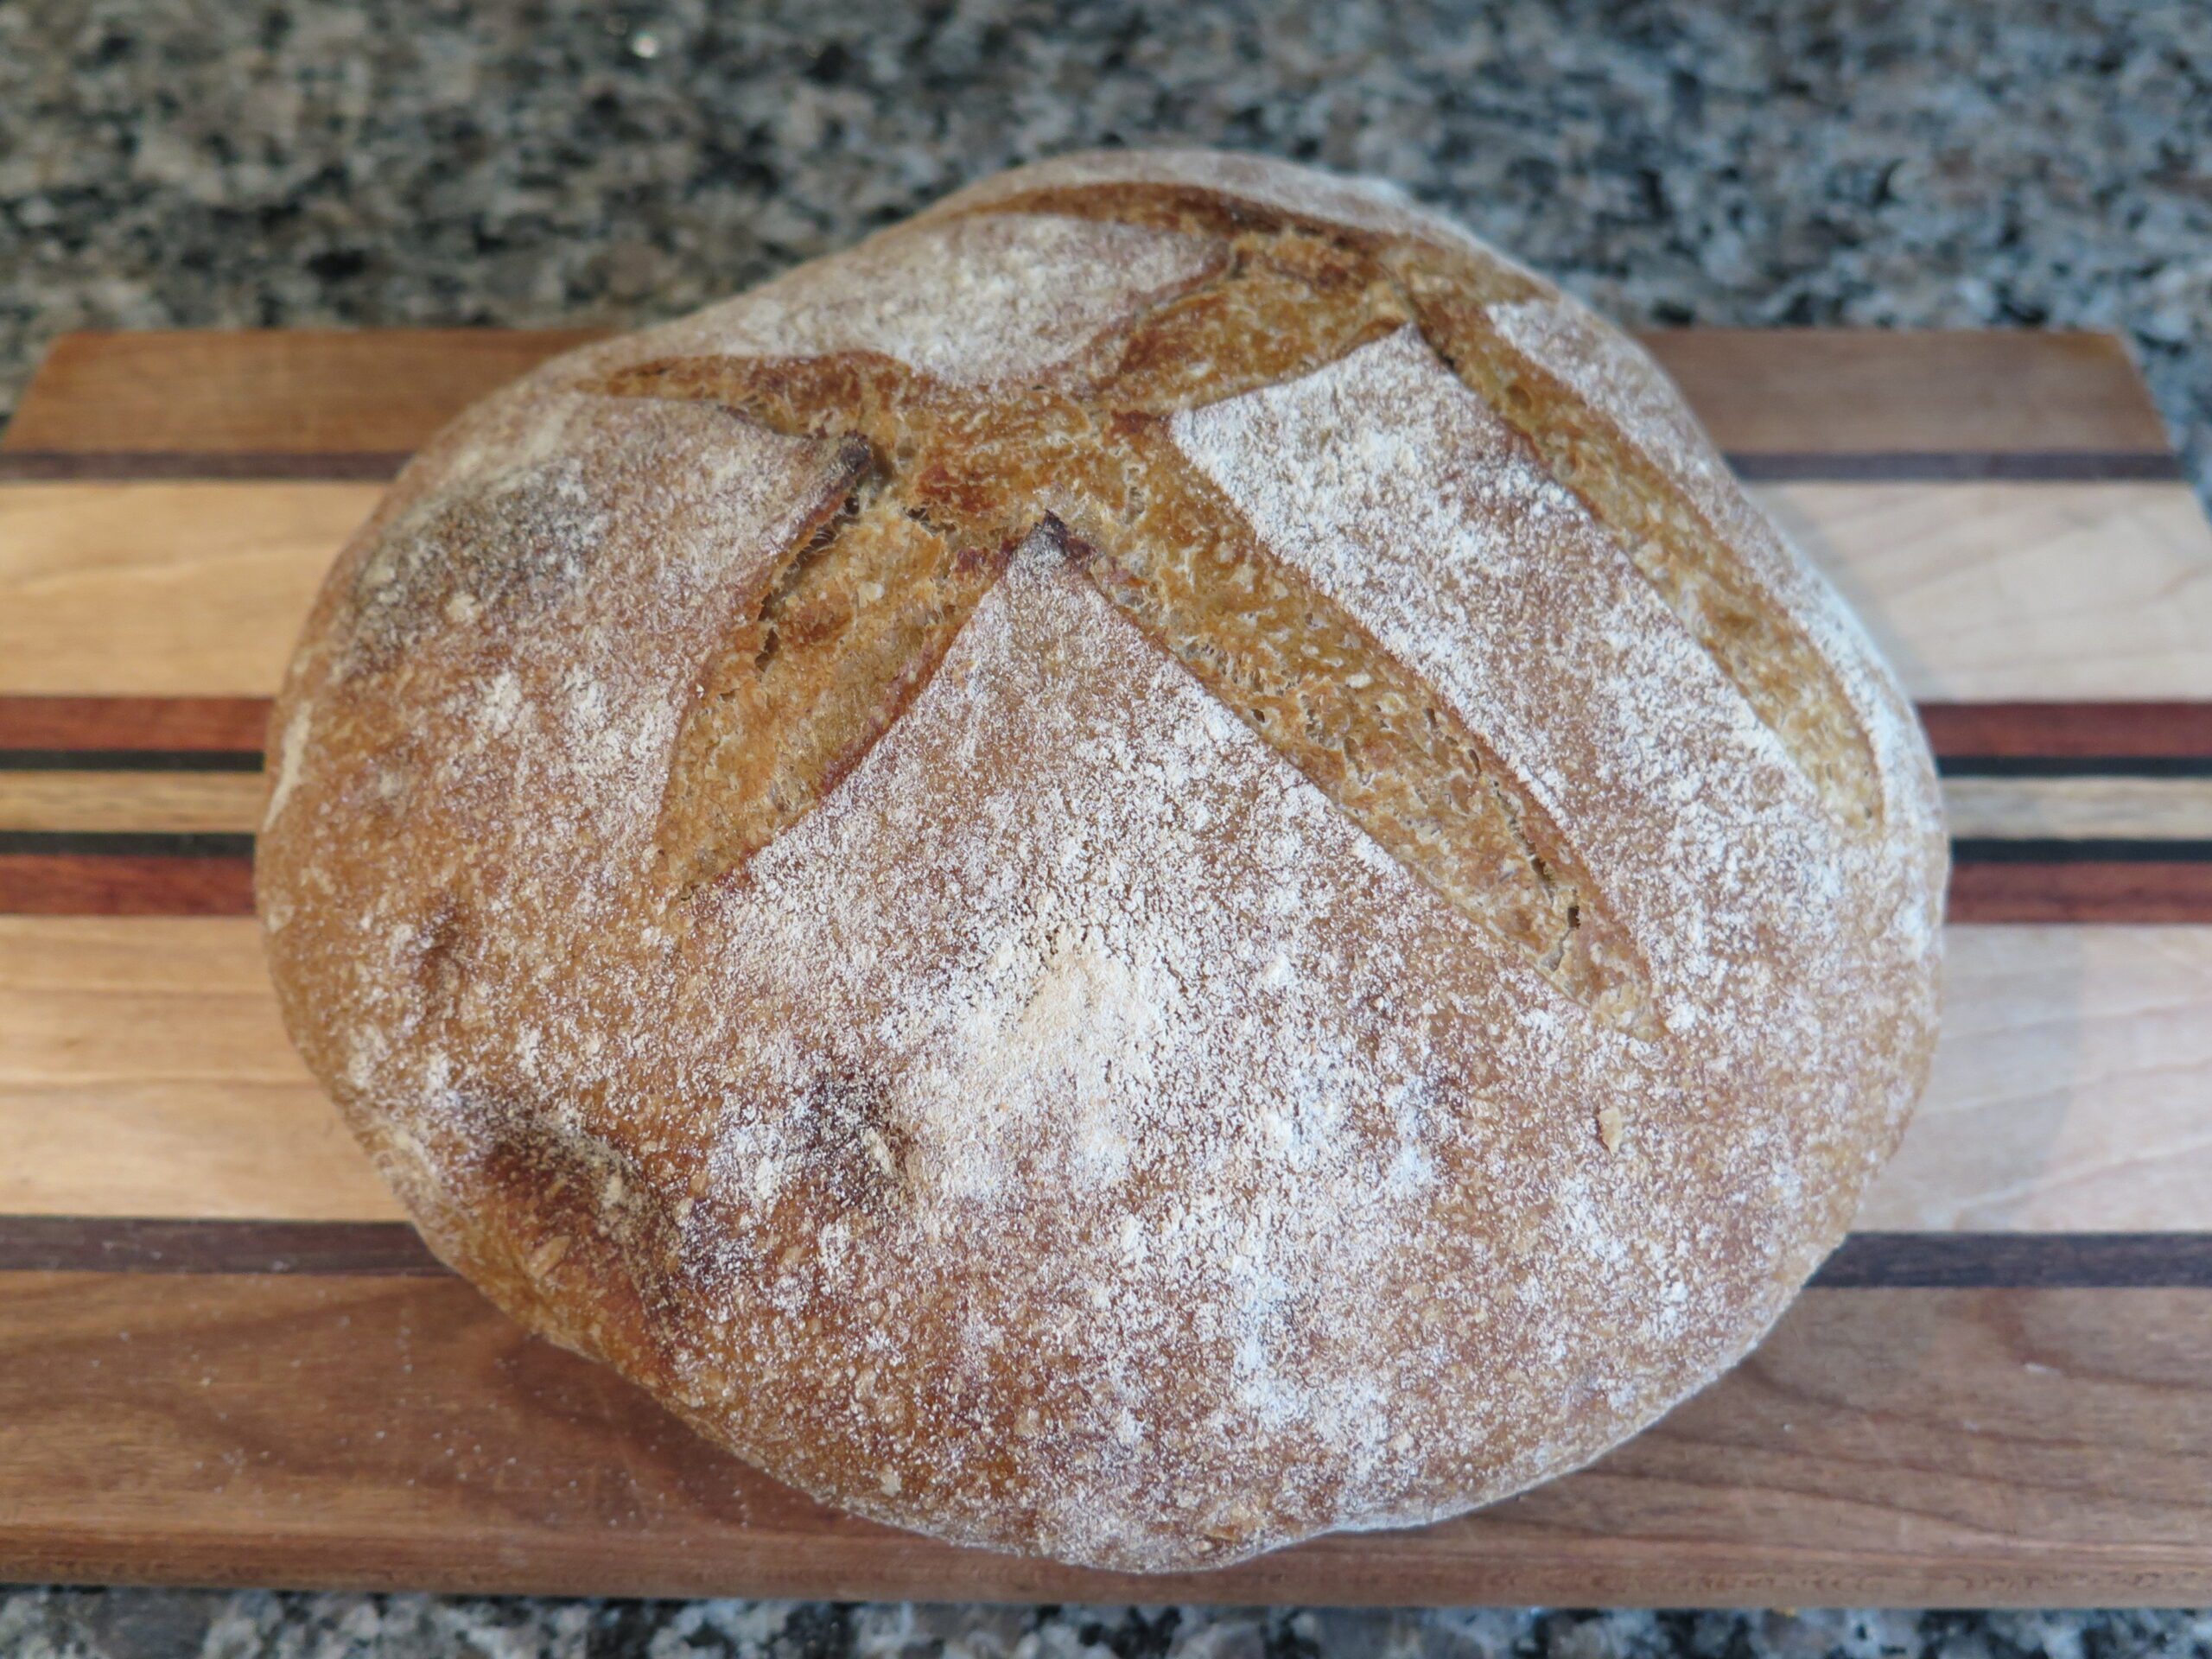
It’s not a massive big loaf. I keep it on the smaller side because 1, it fits in my dutch oven, but also 2, fresh homemade bread will not last long before it goes mouldy. There are no preservatives in this bread. I keep my loaf small so that I know it will be consumed before it has a chance to become a science experiment.
If you noticed, you need to plan ahead for this recipe. You need to start the evening before you want to have bread and prepare for it to be a day-long affair for making it. It’s not that you have to do lots of things constantly, it’s just that it’s a lot of waiting for the natural yeast. It can take at least 8 hours from start to finish. Keep this in mind.
The Recipe
Ingredients
365 grams of flour (3 cups) – Get the best flour you can afford.
At a minimum, it needs to be bread flour.300 ml of warm water (1 1/4 cup)
175 ml sourdough starter (3/4 cup)
2 Tablespoons Honey
1 Teaspoon salt
Equipment / tools needed
- Stand mixer (not absolutely necessary but helpful)
- Bowl for proofing
- Plastic wrap
- Dutch Oven
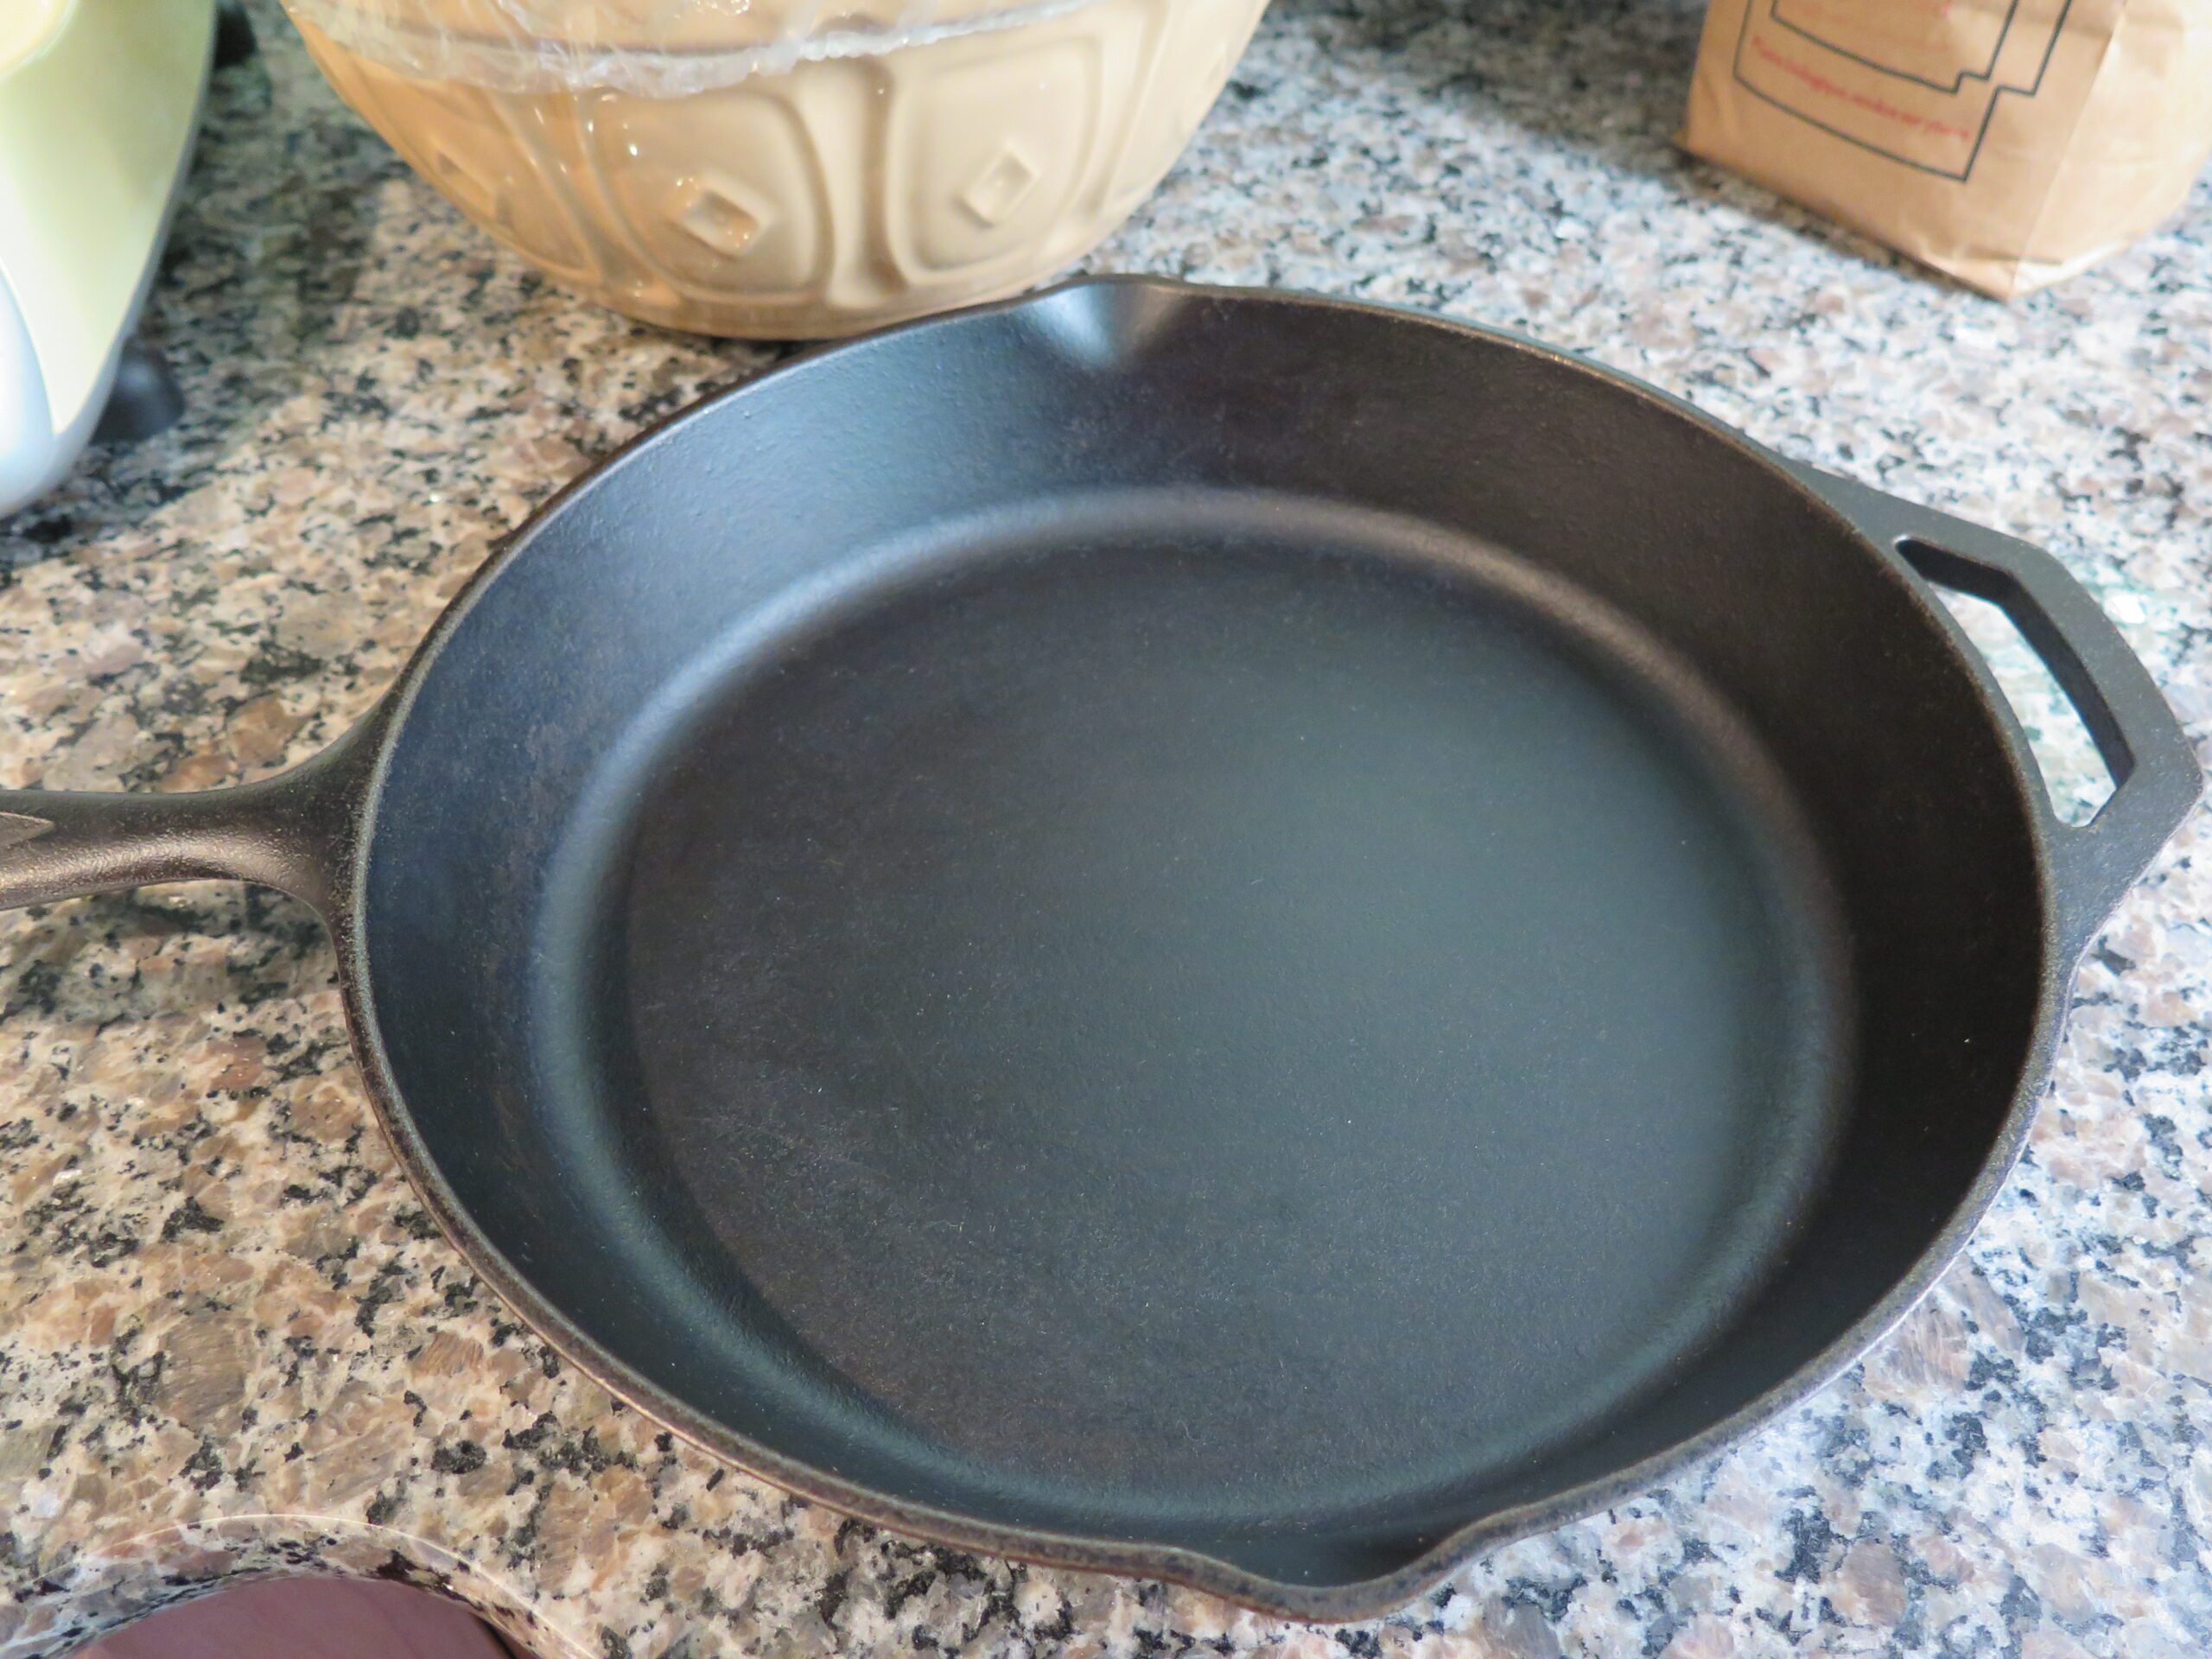
- Pan no bigger than your dutch oven
Directions
- Add all your ingredients to a bowl or stand mixer and mix just until all your ingredients are combined. You should not see any dry flour. Leave to rest for 30 minutes.
- Time to knead the dough. You may need to add more flour or water depending on what is happening. You want a dough that is smooth but still tacky. It should not be a soupy mess. It should still hold a bit of shape. I find 10 minutes in my mixer works well and I have to add between 30 and 60 grams more of flour.
- Lightly oil a bowl and transfer your dough. Turn the dough to coat with oil and cover with plastic wrap. Place in a warm spot to proof.
- After 2 hours, complete your first set of folds. See the pictures above to show how to fold the dough. Cover with plastic and back to a warm spot to proof.
- After 2 hours, complete another set of folds. Cover with plastic and back to a warm spot to proof.
- After 2 hours, the last round of folds. Cover with plastic and back to your warm spot to proof.
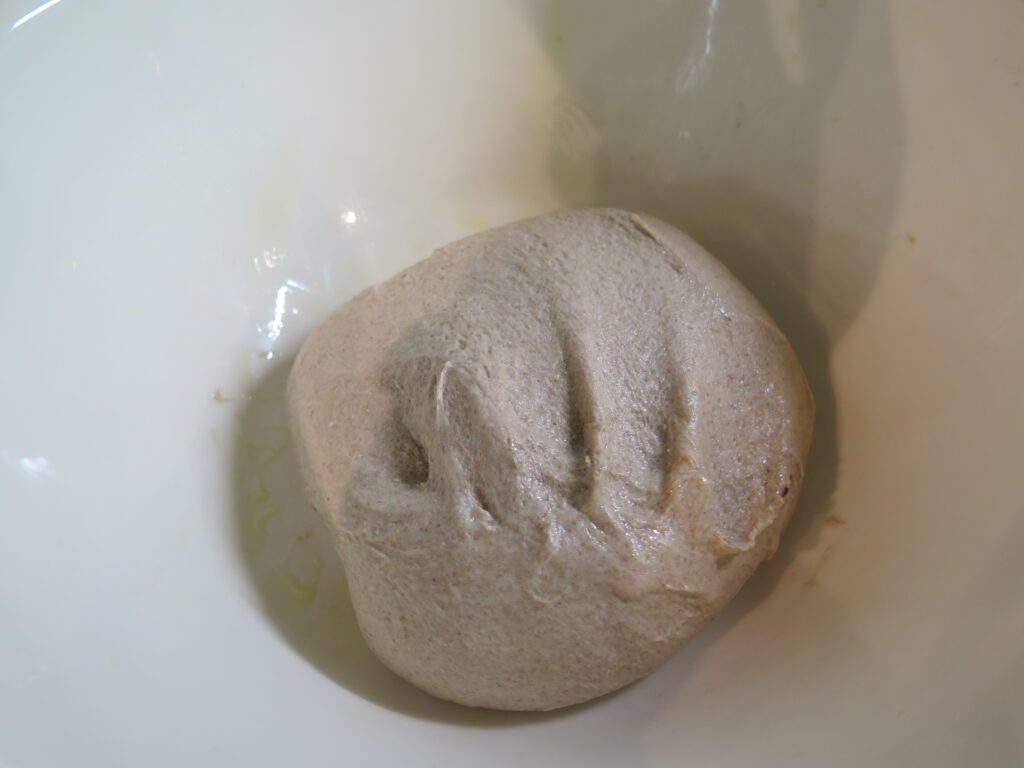
- It’s now been 6 hours. You want your dough to have almost doubled in volume. You may need to leave it longer before moving on. It depends on how active your yeast is. The dough will be moist. This is correct as you need moisture for the baking.
- When the dough is ready, place a square of parchment paper into a pan no bigger than your dutch oven. I use a pan to help keep the shape of the loaf and to make sure it doesn’t end up larger than your dutch oven.
- Flour the top of your dough and your hands and being very gentle, take it out of the bowl. Gently shape it into a ball. I do this by slightly smoothing the sides down and towards the bottom using one hand at a time while holding the dough. Place the dough ball onto the parchment paper and coat the top with a bit more flour.
- Use a food-grade plastic bag and place the pan with the dough into it sealing the opening. Back to a warm location for the final proofing. If you don’t have a plastic bag, cover it loosely with plastic wrap. You want the dough to be able to grow.
- 30 minutes into the final proof, place your dutch oven with the lid into your oven to heat up. Turn the heat to 450 degrees Fahrenheit.
- 45 minutes later, take your dough and make cut marks on the top. You want around 3 slashes to allow the bread to expand up. If you don’t make any slashes, your bread may blow out the sides or who knows where.
- Using the parchment paper, gently lower your dough into the heated dutch oven. Lid on and bake for 15 minutes.
- Lower the temperature to 425 degrees Fahrenheit and take the lid off. Bake for another 10 to 15 minutes.
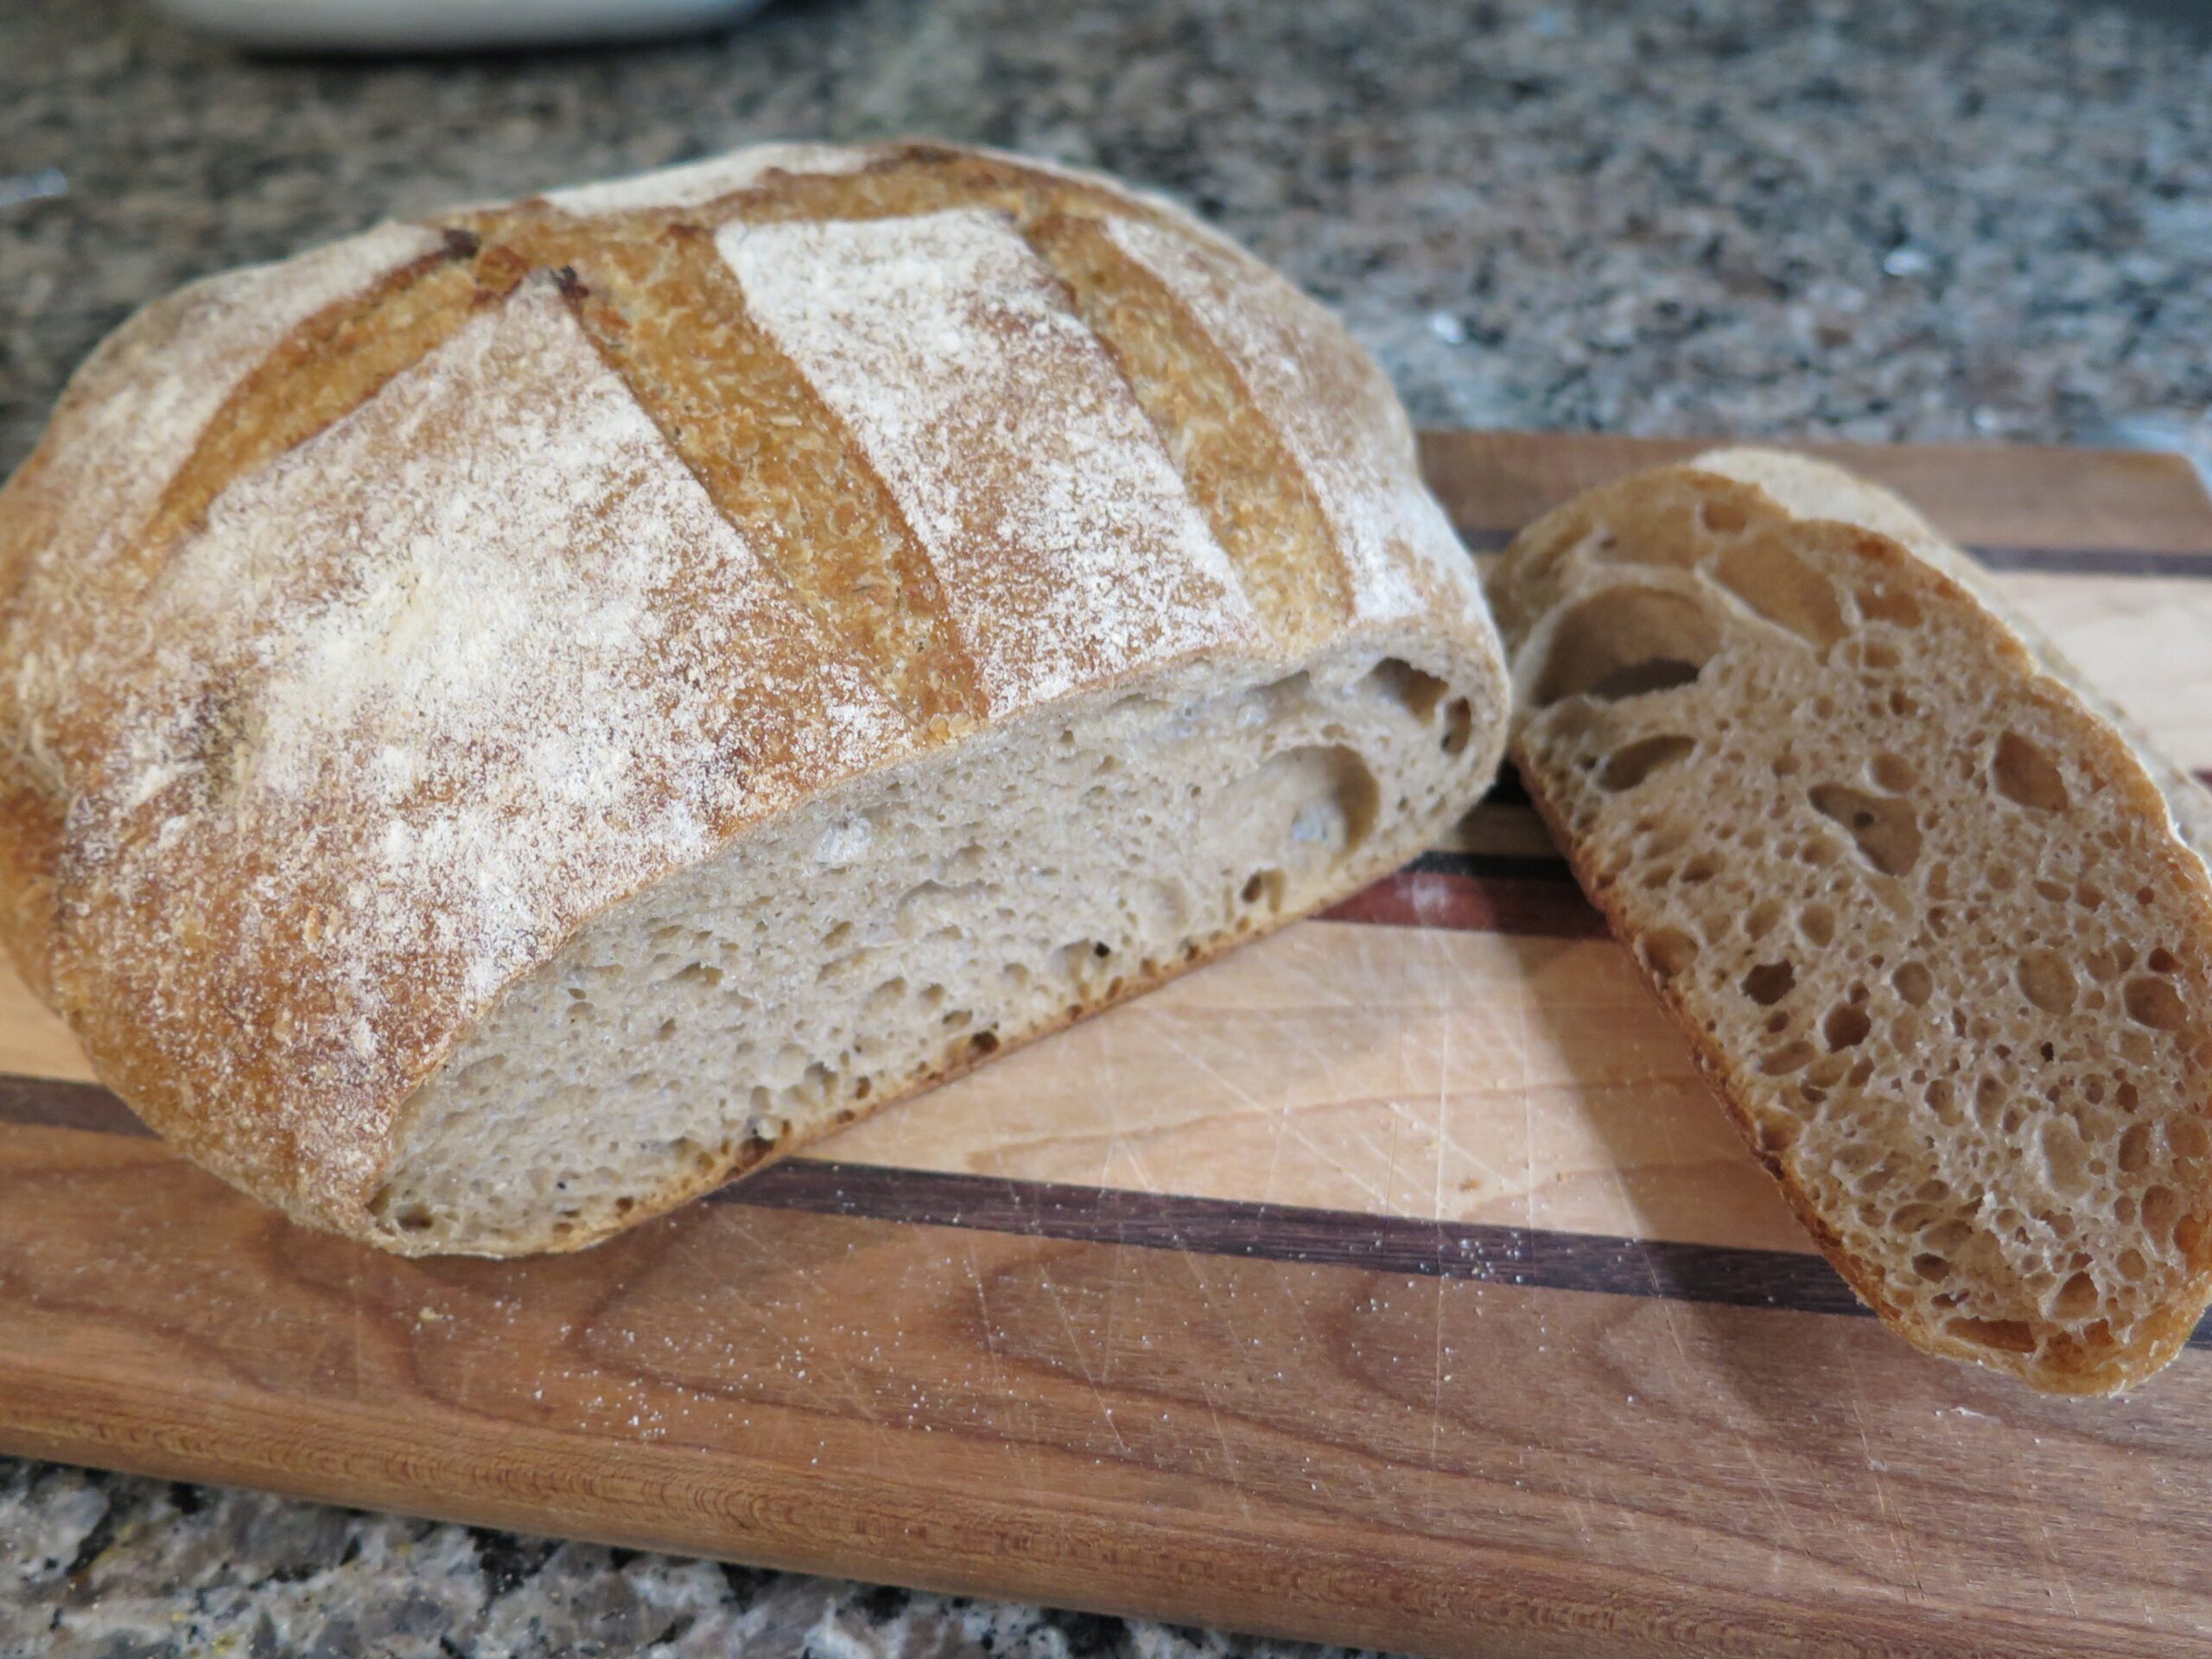
- Check if your loaf of bread is baked by tapping the bottom with your finger. If it sounds hallow, it’s done.
- Cool on an elevated wire rack for at least an hour before you cut into it. Don’t rush it. Just wait for it to cool.
I’m sure there are people who would read all these steps and instructions and think forget it! I’ll just go to the store and buy a loaf of bread. I can see their point. BUT…you will be so impressed at what you can accomplish after you take raw simple ingredients and make this fantastic loaf of artisan sourdough bread.
I have used this method and tried a few different types of flours such as mixing spelt flour in with stoneground bread flour. I have not tried to make sourdough with added ingredients like olives.
Have you made sourdough bread at home? How was the process for you? I’m always interested in learning new tricks and processes so please do share down below!
Interested in a quick bread? This recipe for soft, fluffy white sandwich bread is delicious.
